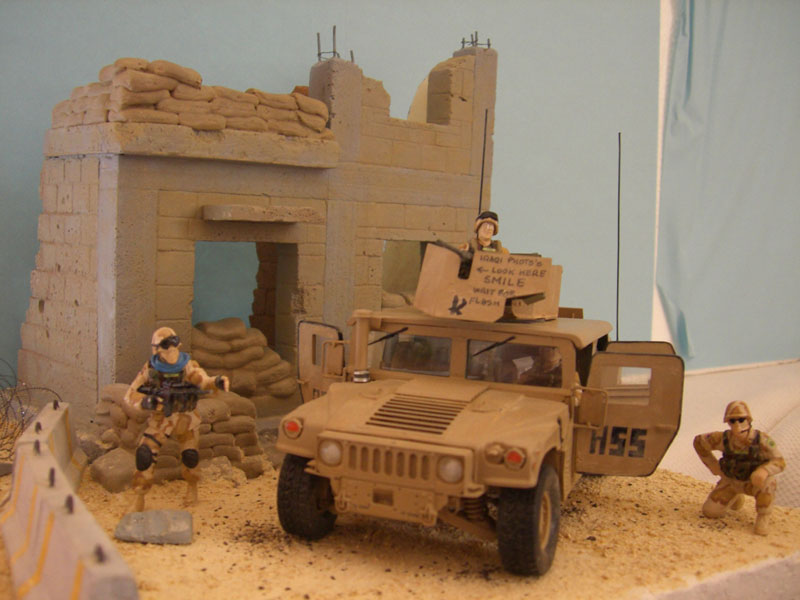
M1114 UpArmored Humvee
Tamiya M1025 kit with MIG Productions M1114 conversion kit, 1/35
The model is based on a Tamiya M1025 kit, upgraded to a M1114 using the MIG Productions converson kit “M1114 UP-ARMORED HMMWV with MG cupola“.
To detail the interiors I’ve used the following Pro Art Models resin kits:
• US modern radio and satellite communication set (p/n PAU 35010), for the Blue Force Tracker system
• US radio set Sincgars ASIP (p/n PAU 35020) for the Sincgars radios
For the model I’ve used decals from Echelon Fine Details:
• Humvees in Operation Iraqi Freedom & Operation Enduring Freedom (p/n 35022)
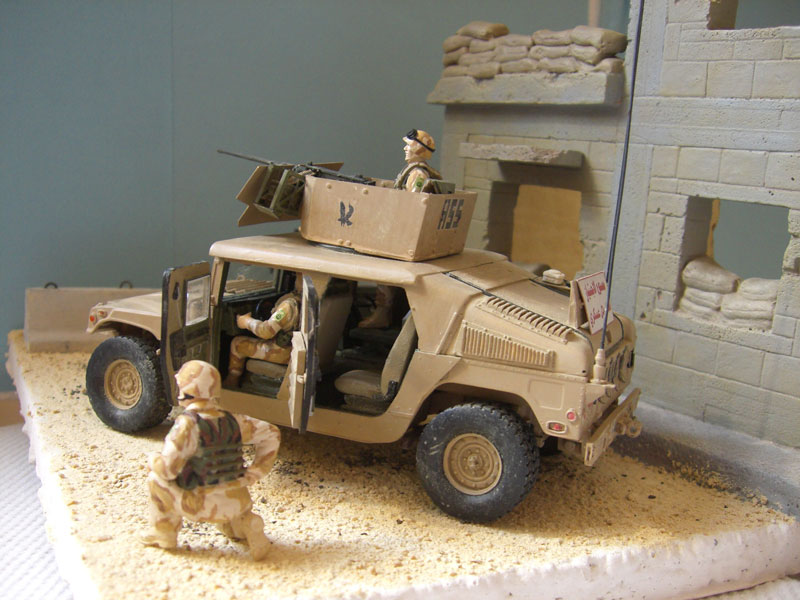
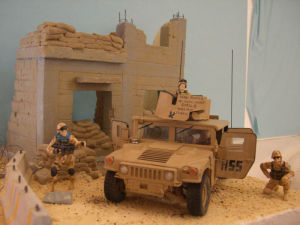
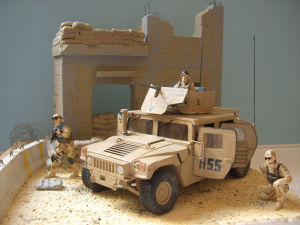
Diorama includes:
• ruined building from Verlinden kit “Streets of Beirut” (p/n VP190)
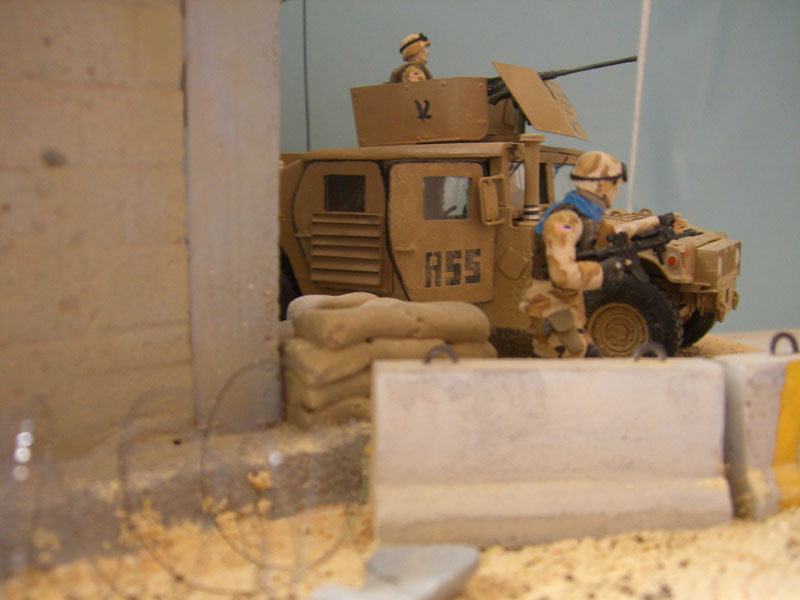
• Jersey barriers from MIG Productions kit “Concrete barriers” (p/n MP35-275)
• razor wire from Eduard kit “Barbed Wire Razor” (p/n 35369)
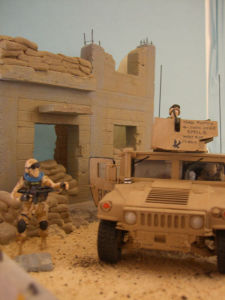
Driver and gunner are from the Tamiya M1025 kit, modified with Verlinden “Figures Conversion Parts Modern US Iraq – Afganistan” (p/n VP2177); ground figures are from Verlinden kit “Bagdad Patrol” (p/n VP2390).
On the figures I’ve added 101st Airborne Division patches taken from Echelon Fine Details decals set “US Army & USMC Patches, Insignias & Ranks” (p/n 353001).

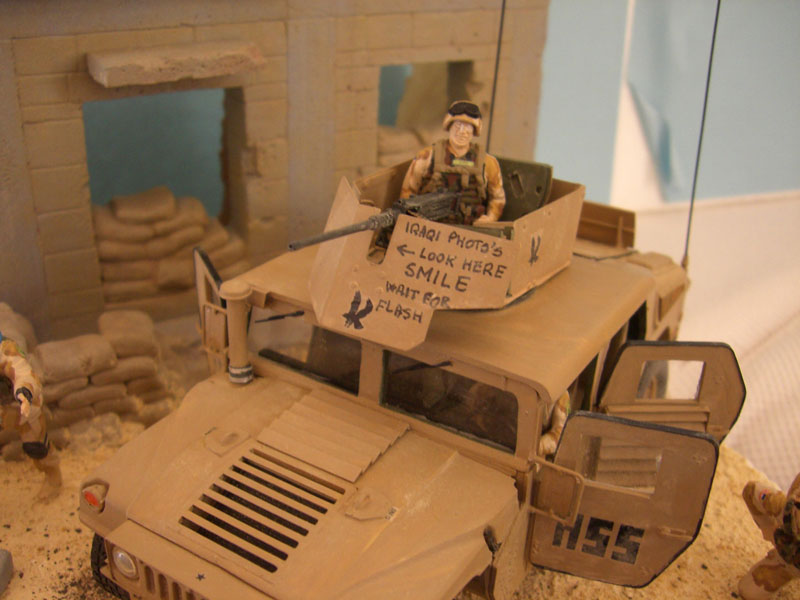


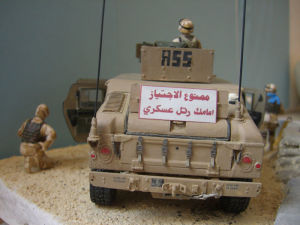

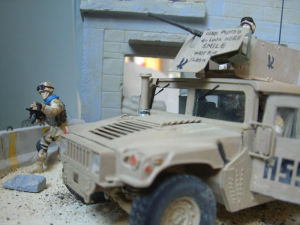

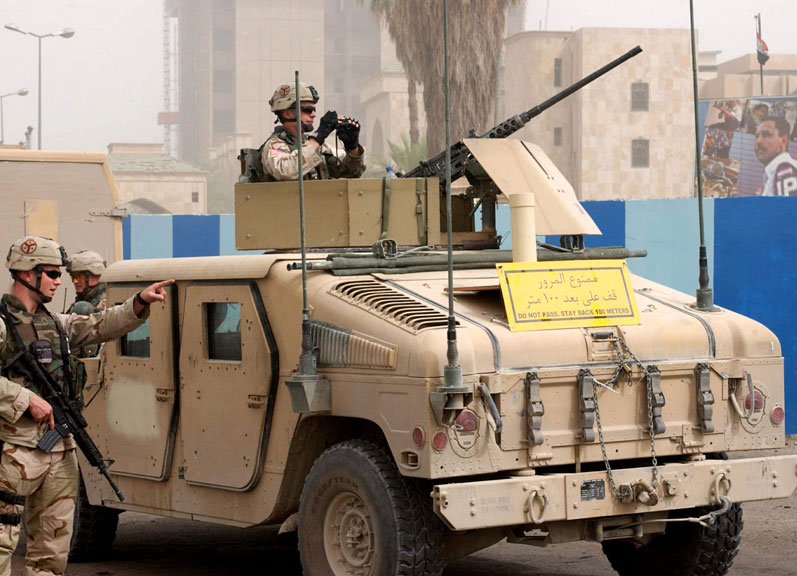
The sentence written on the gunshield is taken from a picture of a real vehicle: I found it funny
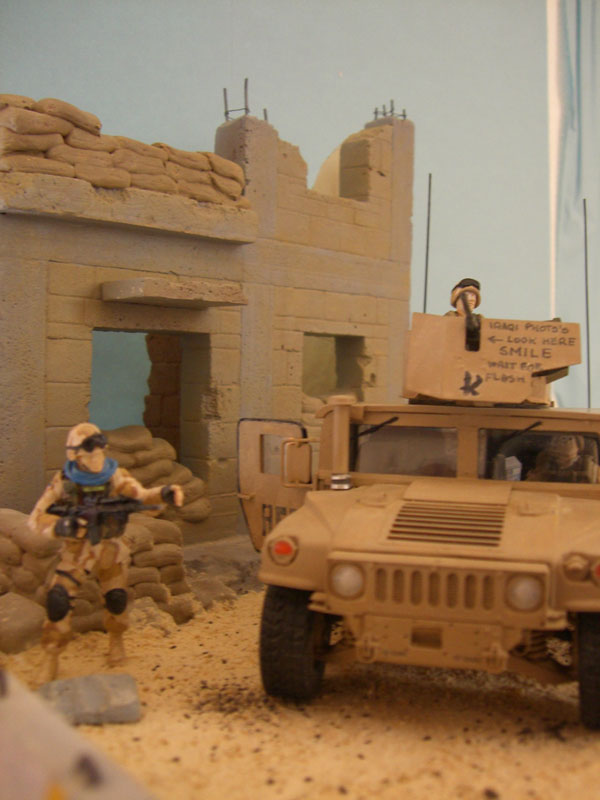 .
. 
Construction history
I have found a lot of very useful suggestions and pictures on Armorama.
Start from the following thread, M1114 Started, follow the link and you will discover a real world of knowledge about modelling an Up-Armored HMMWV.
Introduction
The Tamiya kit is well known and it doesn’t need any specific comment: quality of the mold is, as per Tamiya standard, very good but the model is outdated.
It’s necessary to use a conversion kit to build an M1114. As per my knowledge, the MIG conversion kit is the best available on the market.
It isn’t cheap but it includes a lot of pieces, some resin and some photoetched.
You can read reviews of the kit by Jeff Edgar at Armorama In-Box Review: Mig Productions M1114 and by Terry Ashley at Perth Military Modelling: M1114 Up-armored HMMWV.
In my humble opinion the kit is not perfect: some elements are missing and some are not completely correct.
This leaves space for scratch building, correcting or detailing some of the pieces; I don’t know if everyone agrees, but this is one of the most exciting part of being a modeller.
I’ll tell you more in the following about the enhancements that I have made.
In addition instructions are very poor and don’t cover all of the elements in the kit.
To finish, in the kit that I received the roof was warped, in such a way that it could be hardly usable.
On the bright side, MIG customer support is excellent: I wrote them about the problem with the roof and they promptly answered and shipped a new piece.
Nonetheless the MIG kit is essential if you want to build an up-armored HMMWV; however I wonder when Tamiya will issue its own M1114 kit.
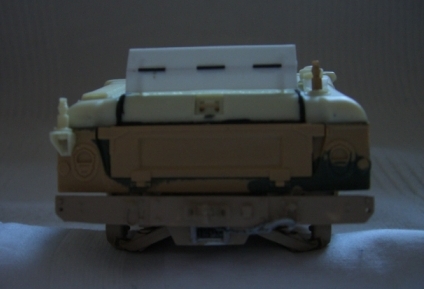
Let’s start
The MIG rear bumper is a starting point to build a correct reproduction of the actual bumper. 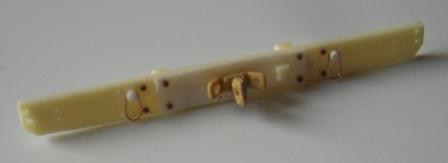
It misses a plate in the center, some bolts, two towing rings and the power connector isn’t in the right position.
I’ve also used the hook from the Tamiya kit because it’s crispier.
In the picture you can see my modified version.
It’s also necessary to scratch build the rear winch;
this I will make later.
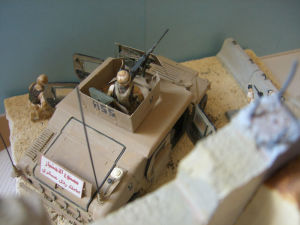
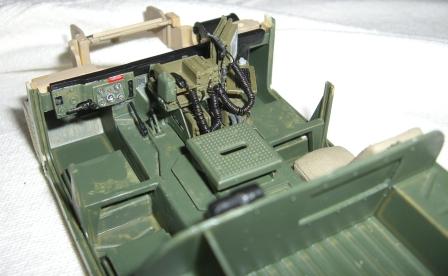
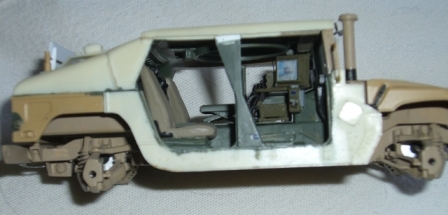
The interiors
To correct and detail interiors, I have taken a lot of input from the maintenance manual TM 9-2320-387-24-1.
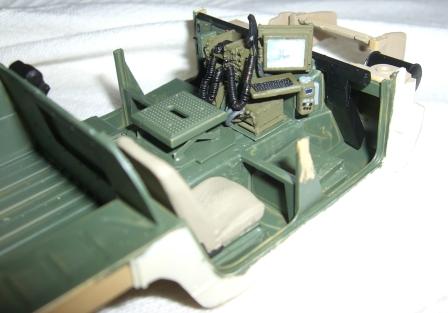
I have modified the seat bases, built a new doghouse, the HVAC ducts on the dash and commander’s side, and added panels on the driver’s, commander’s and passengers’ side.
I’ve also detailed the adjustable gunner’s stand and platform, that in the Tamiya kit is too simplified (see TM-9-2320-387-24P for reference).
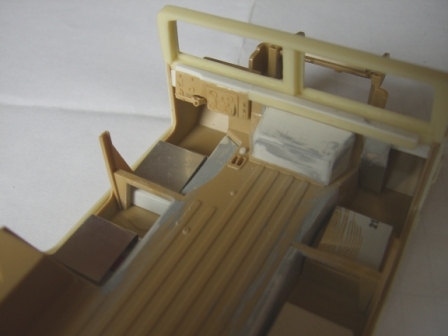
Then it comes the communication gear.
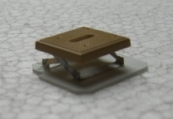
I’ve scratch built the rack with amp guard, the PLGR GPS unit and a MT-6353/VRC power amplifier (in pictures below pieces in white styrene).
From the Pro Art kits I have used two Sincgars radios (ASIP models) and the BFT (Blue Force Tracker) set with CPU, display and keyboard (the last is not present in the pictures).
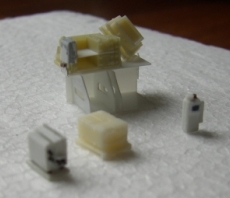
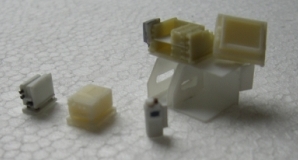
Cabling, handsets, loudspeakers and control monitor C11291/VRC will be added at a later stage, when assembling the interios and roof.
I have also worked on the windshield, adding sun visors and wiper/washer controls (see picture below).
In the pictures below work in progress of the interiors assembly.
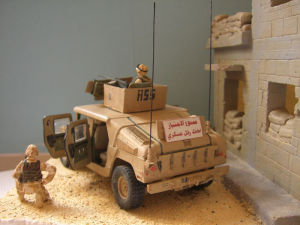
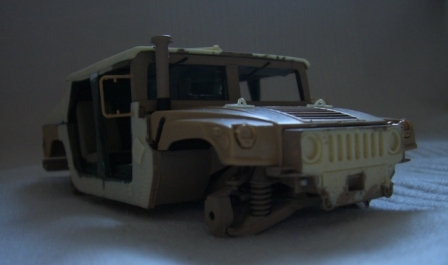
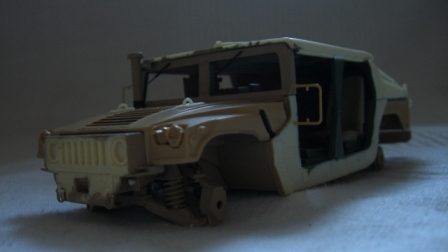
The outside
The outside didn’t require a lot of extra work.
Some trimming to the rear cargo bay wall was necessary to accomodate the roof.
On the right side of the trunk I have added the BTF and GPS antennas; support and BTF anntenna were taken from the ProArt “radio and satellite communication set”, the GPS antenna was scratch built.
The MIG upgrade kit is missing the rear armor shield and the rear winch; I have scratch built both.
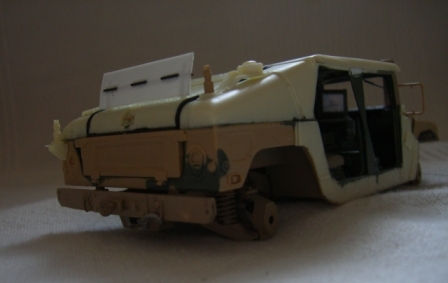
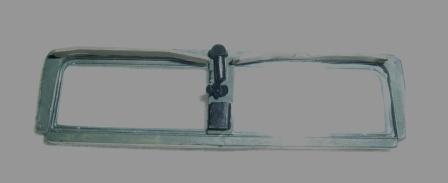
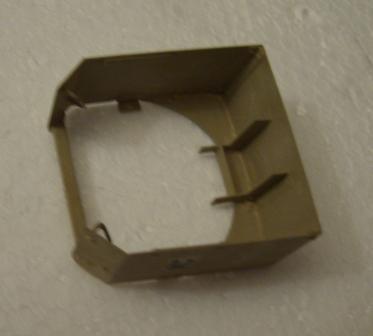
Under the roof I have added the turret frame, missing both in Tamiya and MIG kits.
To one pillar of the frame I have attached a radio control monitor C-11291-VRC (from Pro Art kit), to another pillar a radio loudspeaker (from Pro Art kit).
On the front side I have only added towing rings.
I have also added the small air intake bracket to the windshield frame .
Doors need some work to make them fit the body; it is also necessary to modify the window glasses from the Tamiya kit to fit the armored doors of the MIG kit.
I will add to the tailgate ratchet tie-downs and straps taken from a “M1025 upgrade” PE kit from Eduard.
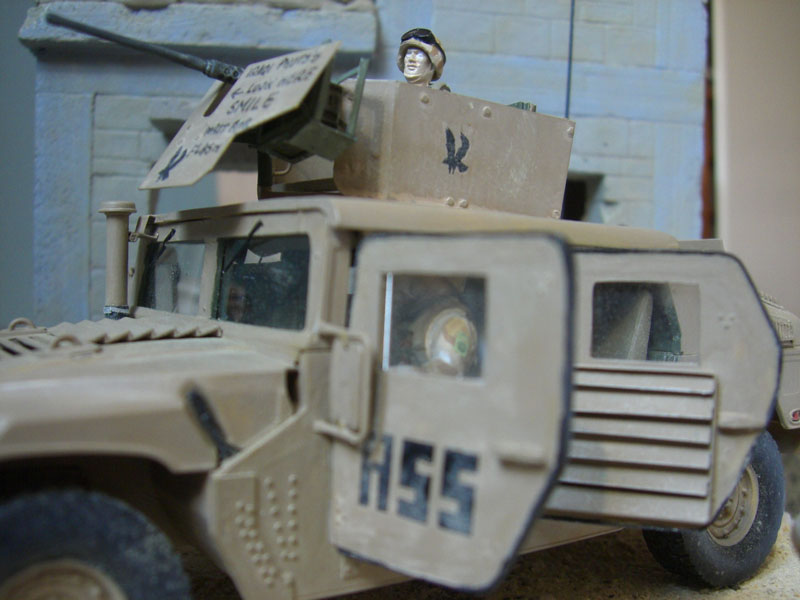
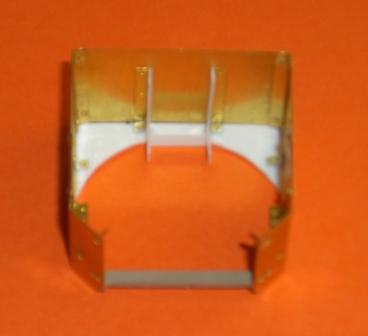
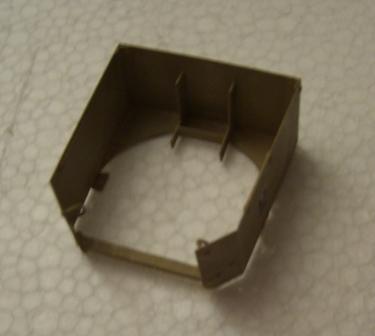
Gunner’s turret
The MIG conversion kit provides a very good turret that can be easily built; photoetched parts have very good quality and a lot of very small details are available.
Nevertheless some parts of the real turret are missing: I’ve built and added the missing details referring to pictures that I found in this post on Armorama.