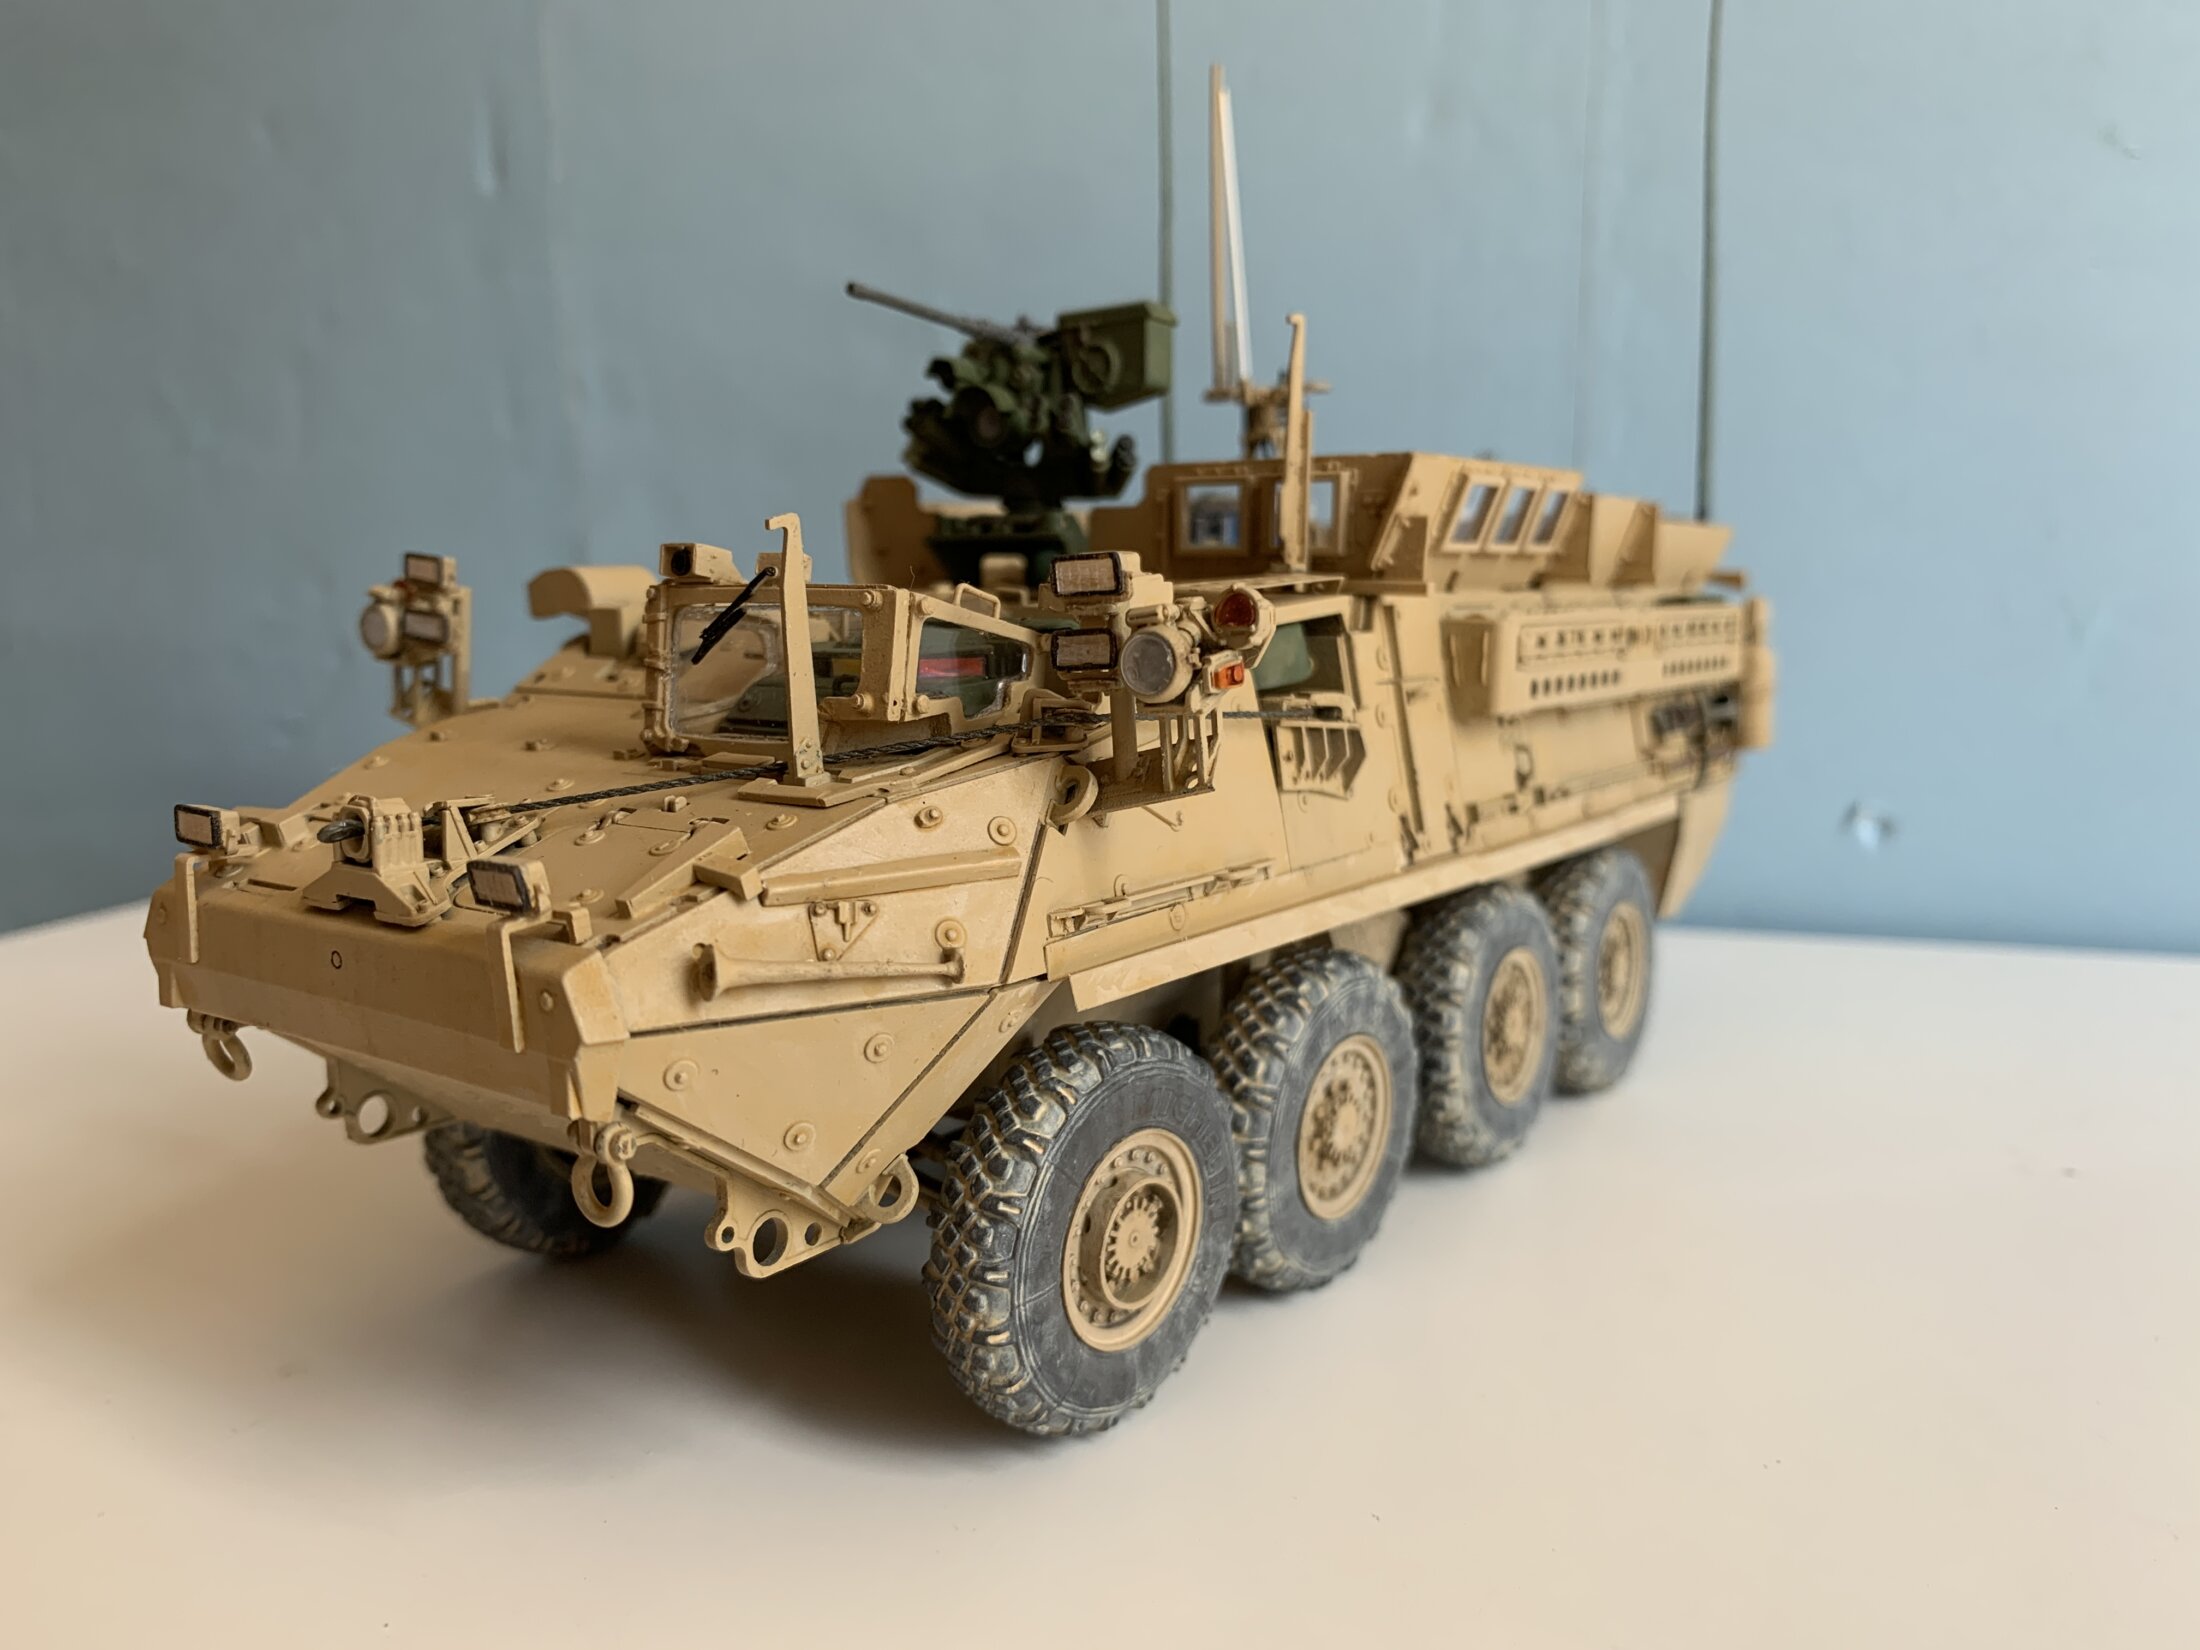
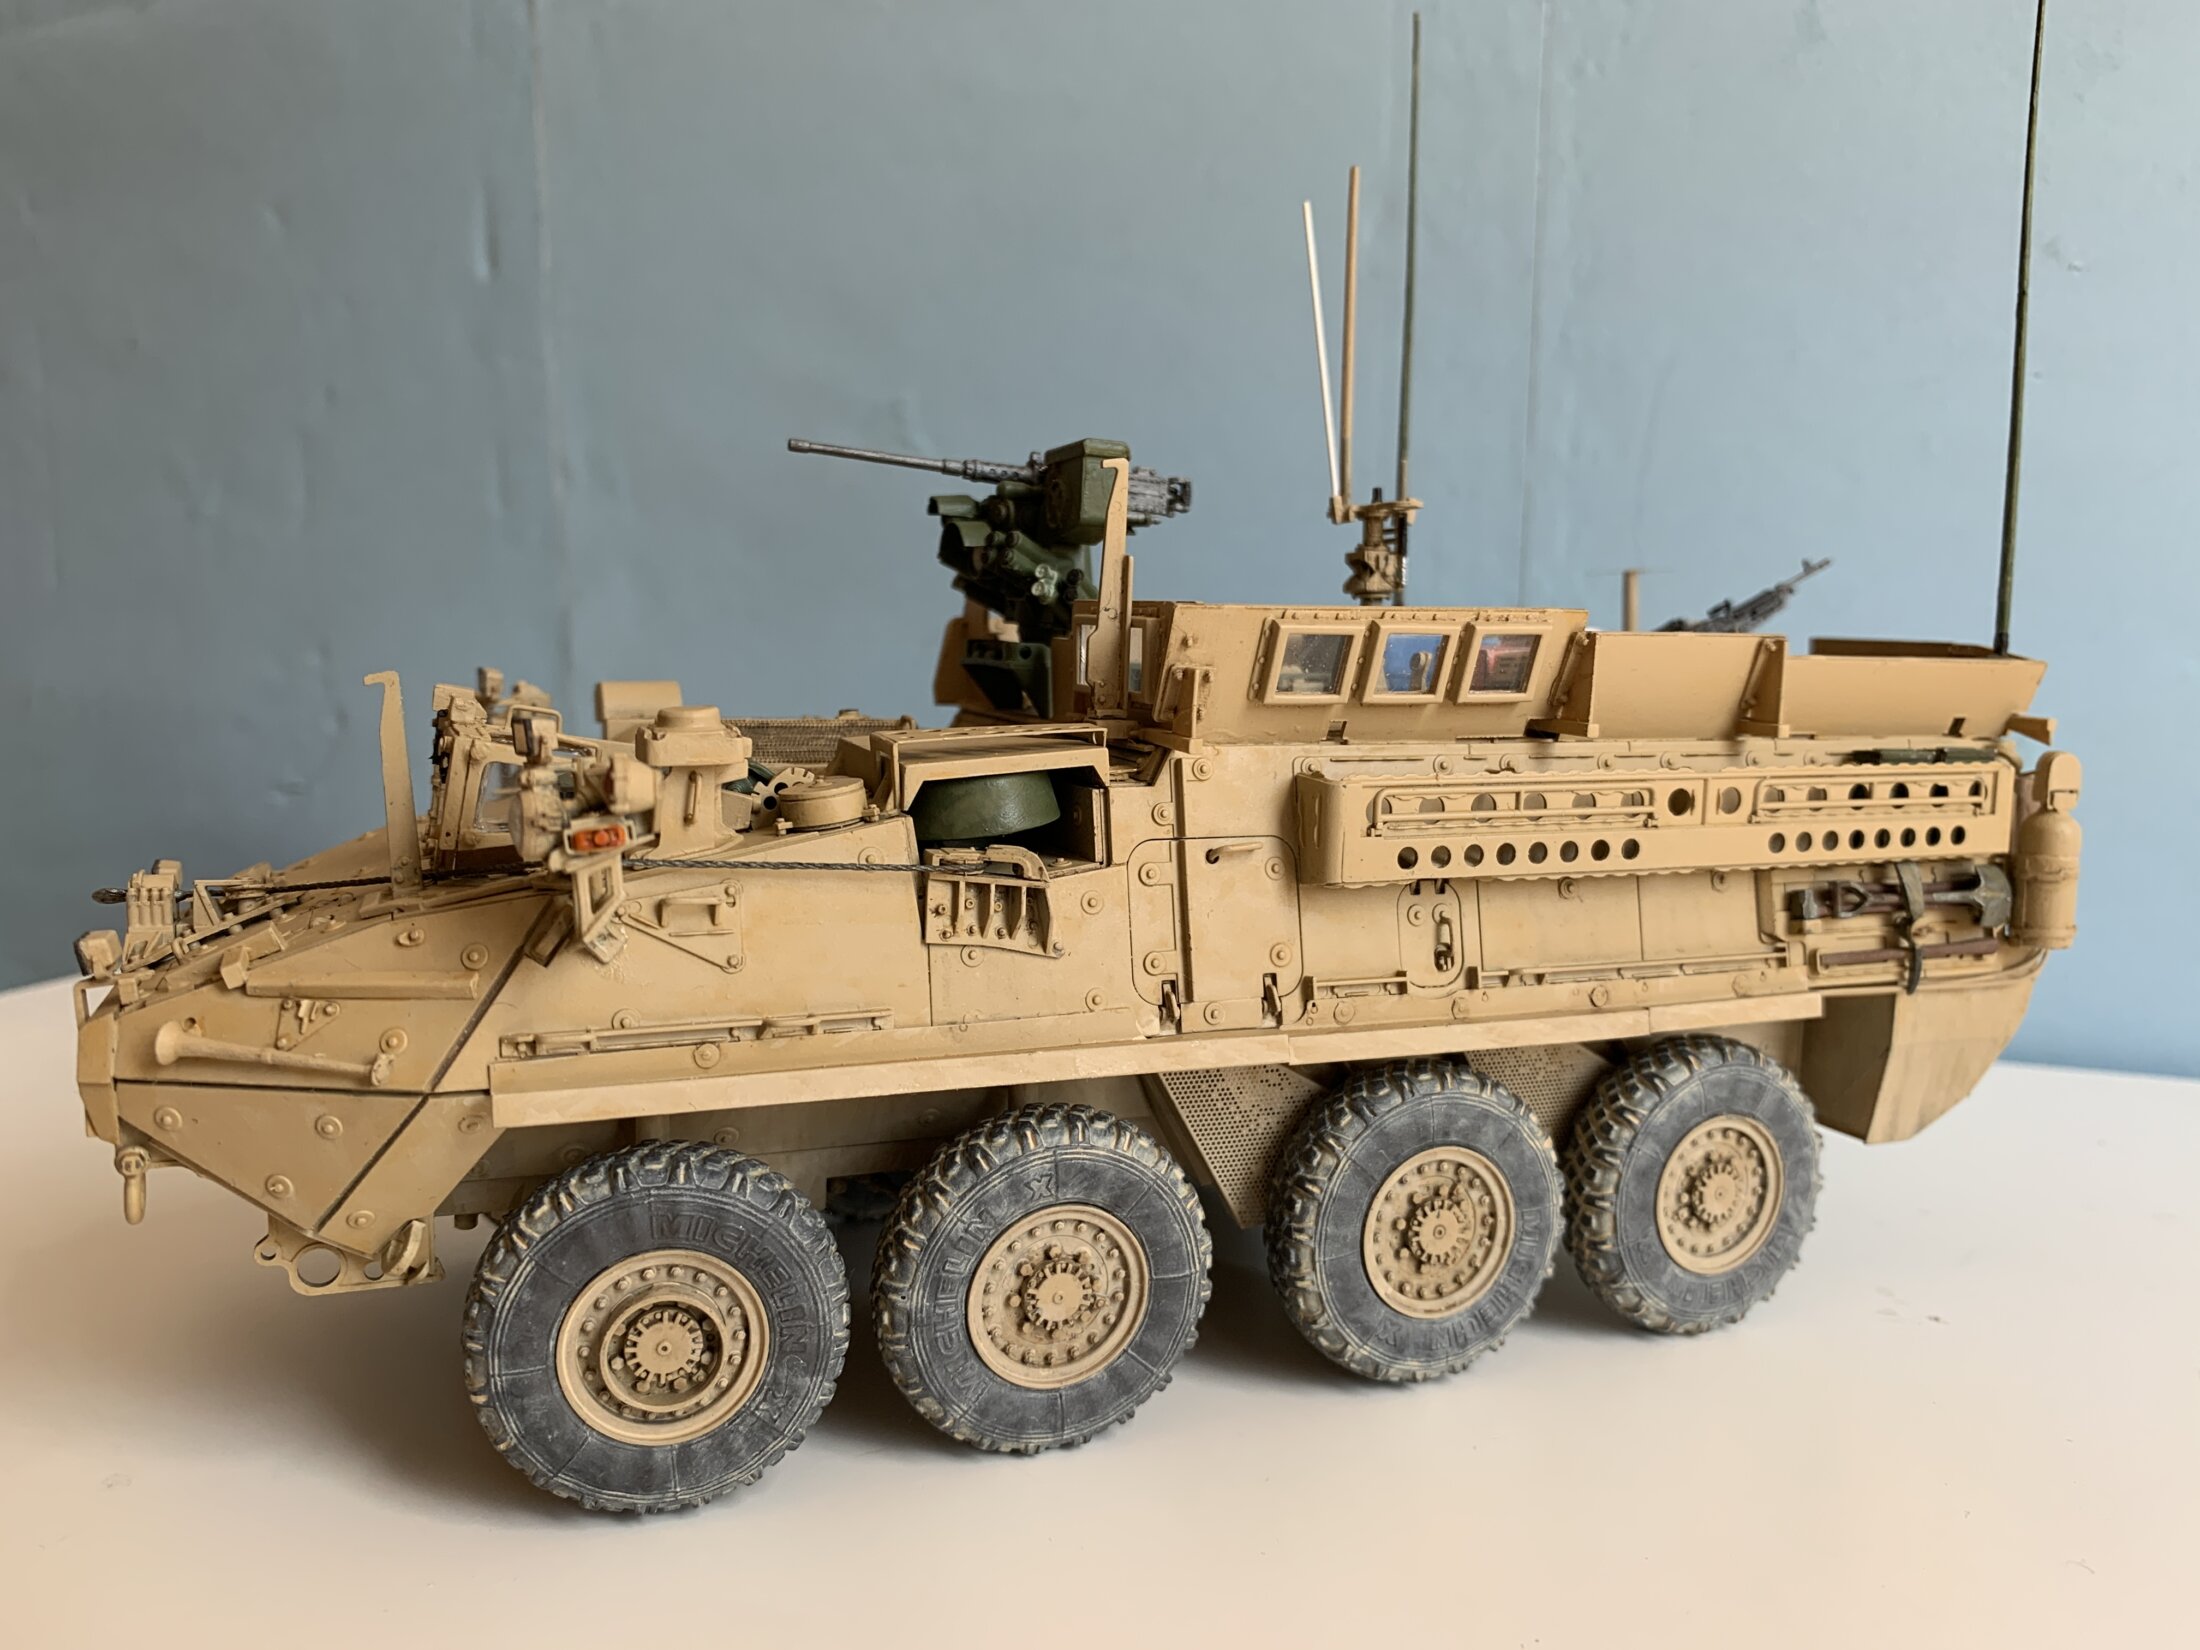
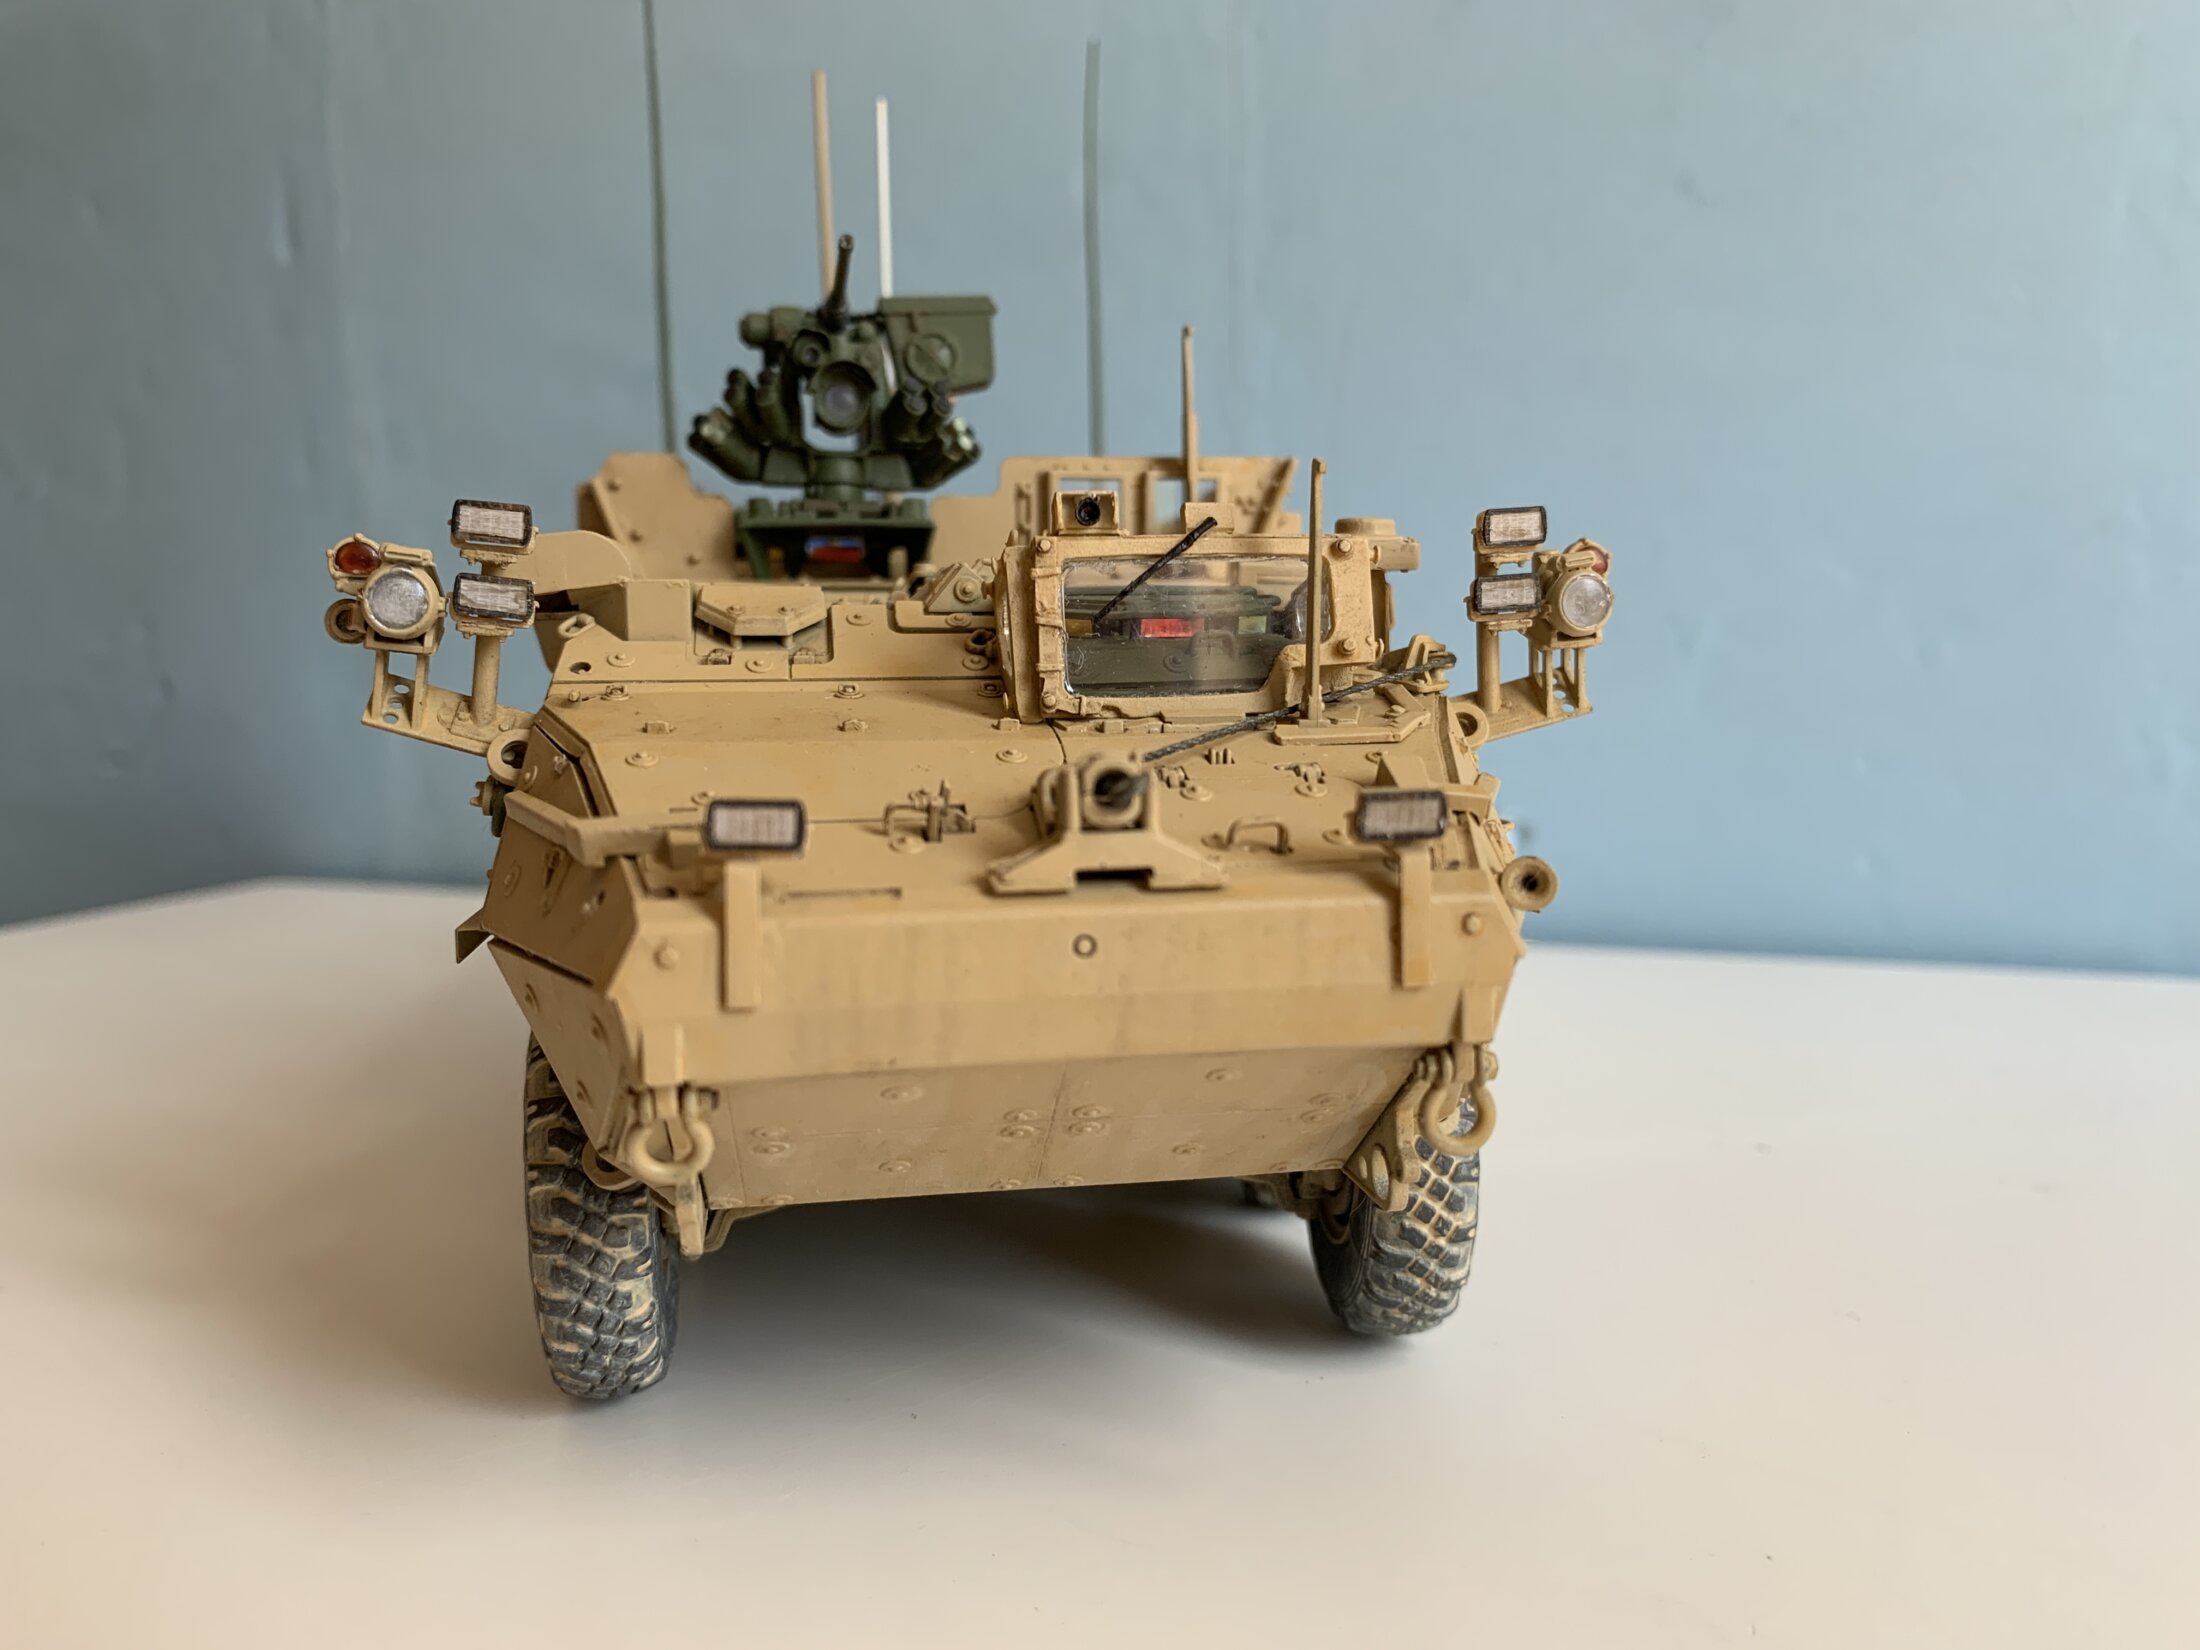
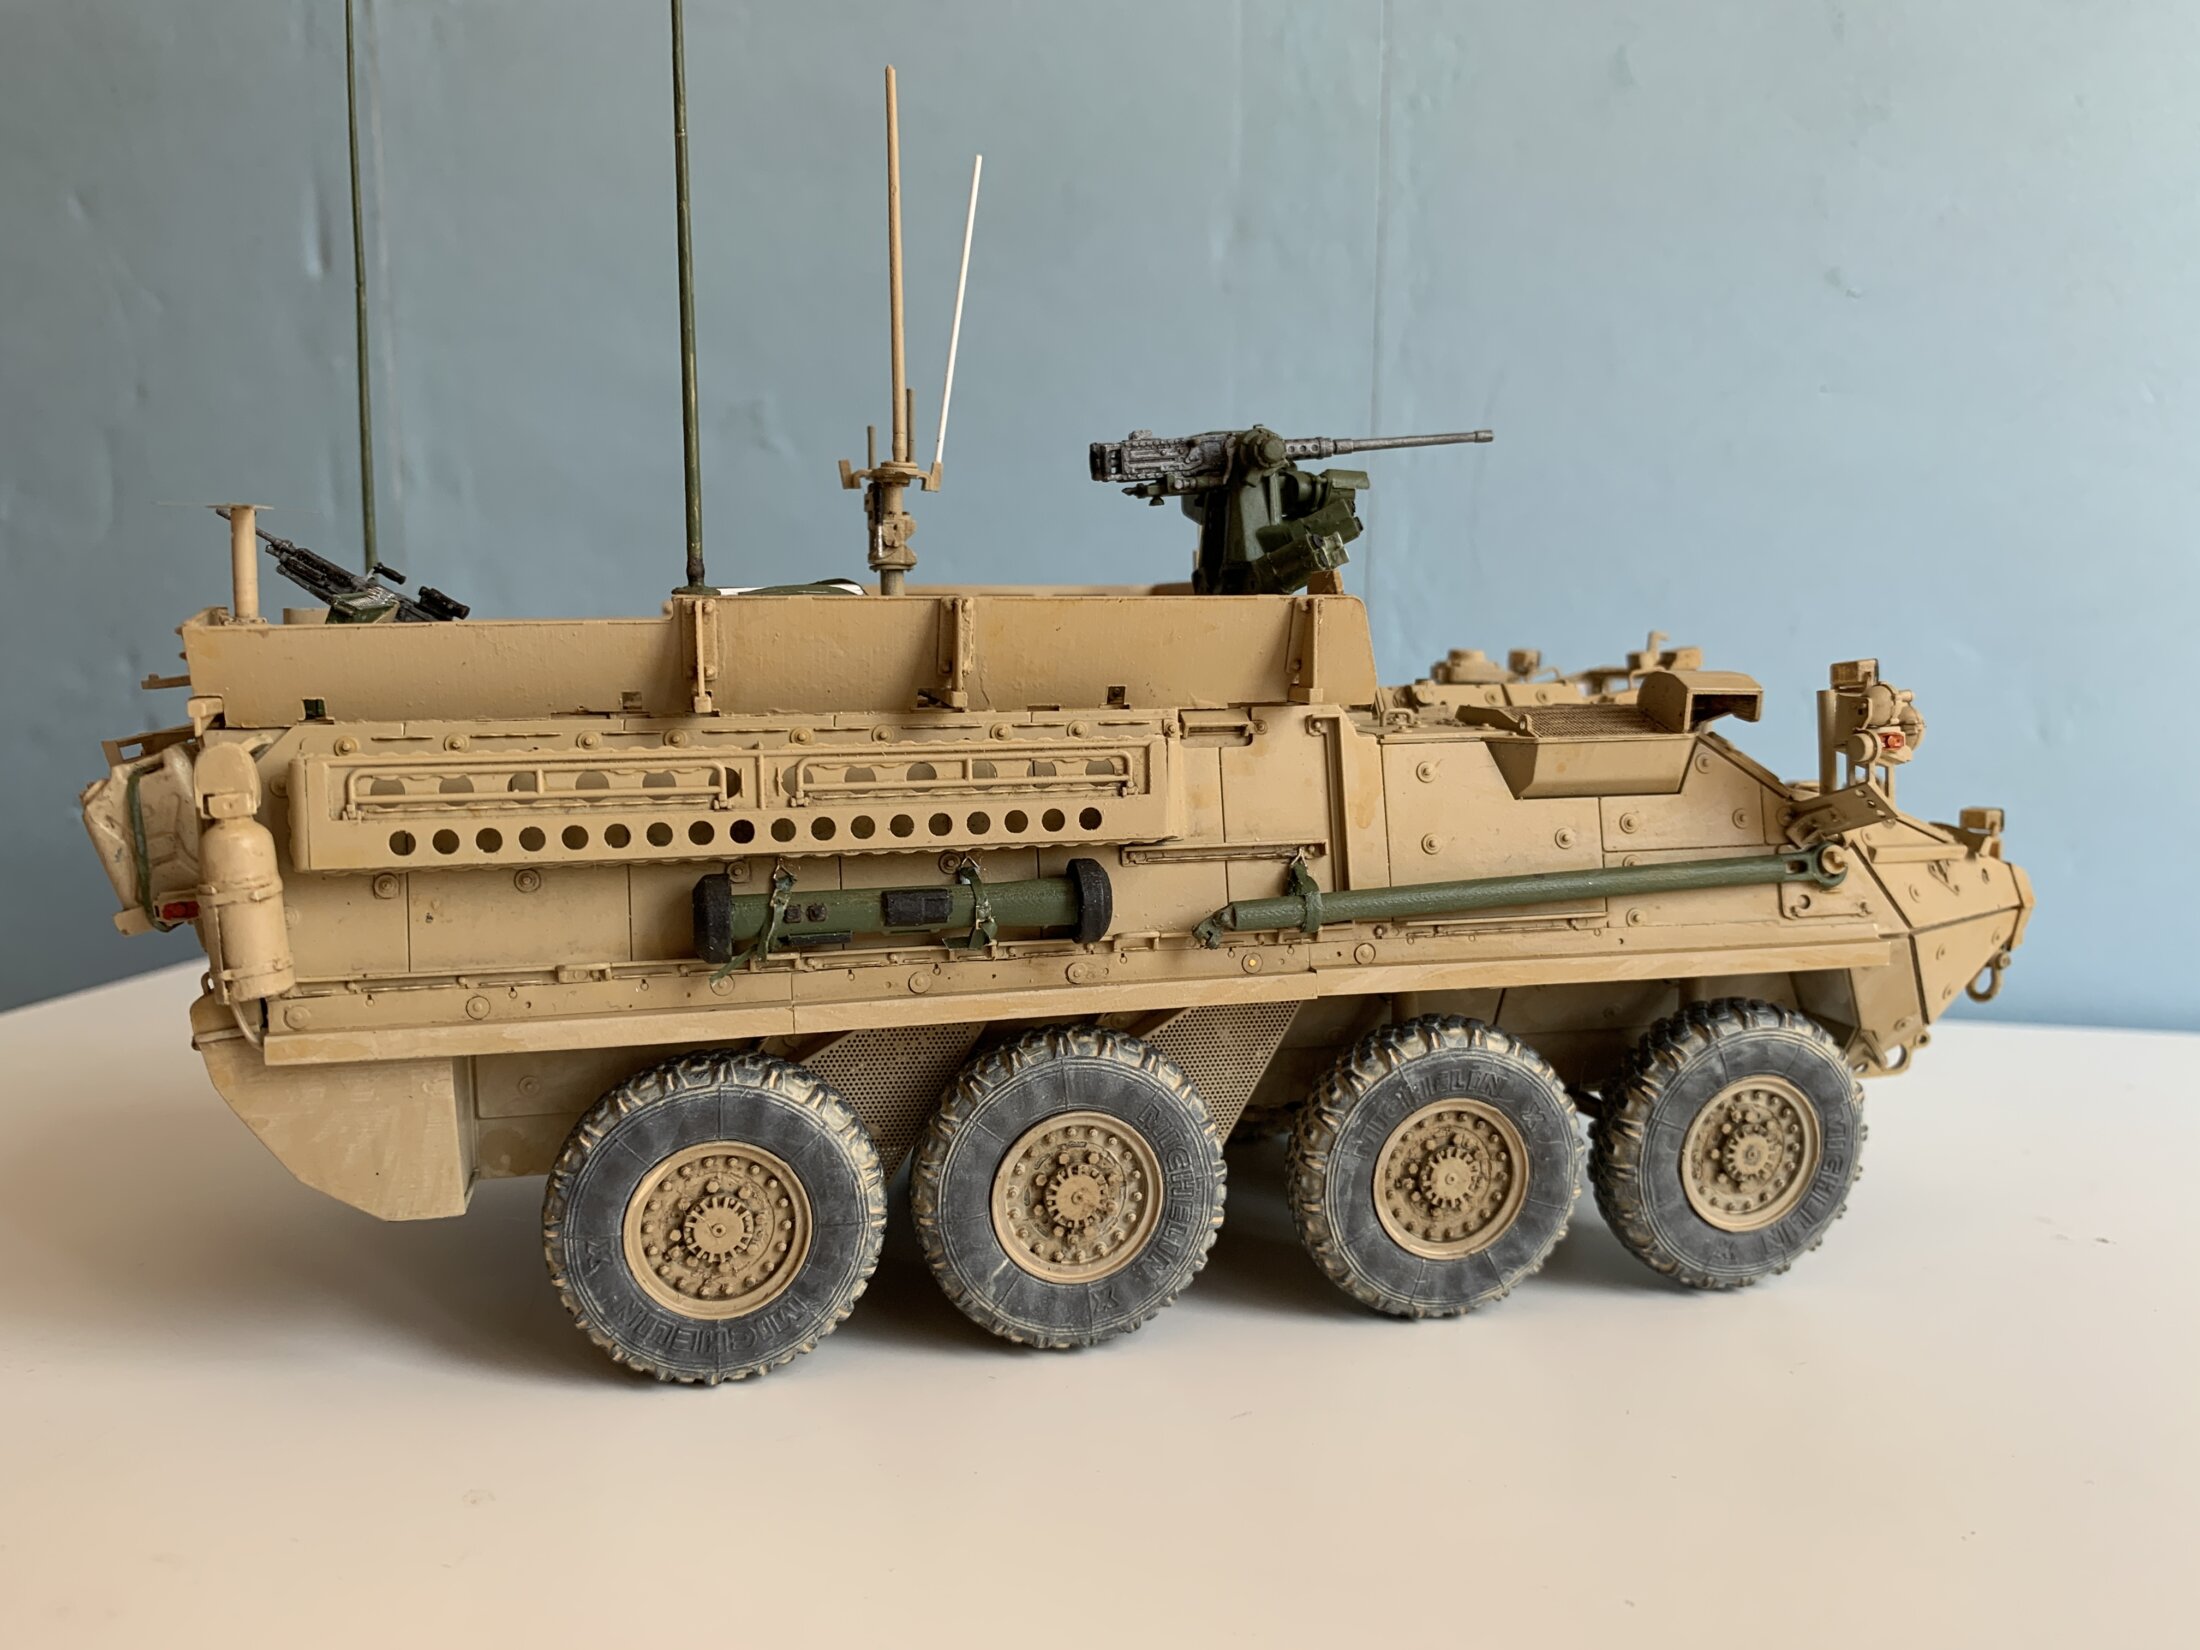
Stryker DVH IFV – Special Forces variant
How to convert an AFV Club M1130 Stryker, 1/35 scale,
with Priamide Models 3D printed parts
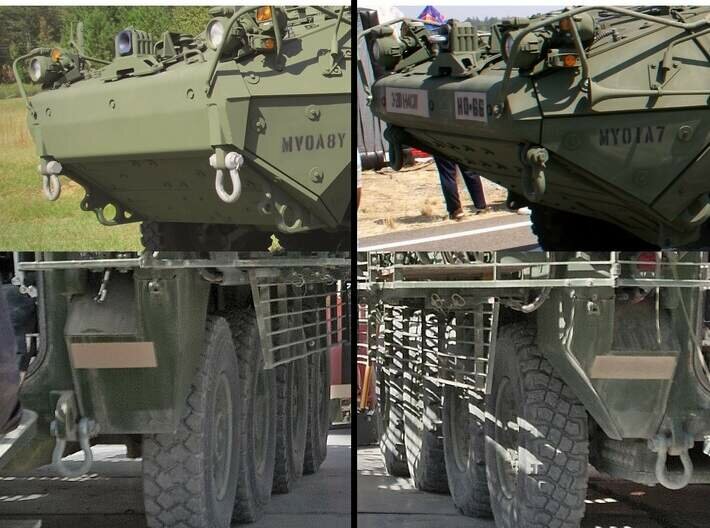
For my Stryker model I have taken a cue from this picture, showing a Stryker DVH IFV used by US Special Forces in northern Syria in 2017.
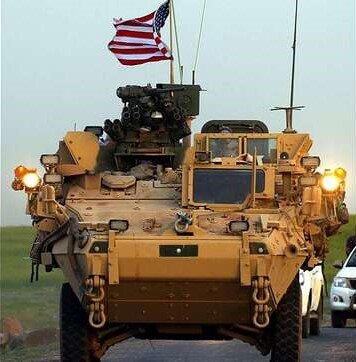
Searching the Internet I found more pictures and videos (not many indeed) of other Stryker vehicles used in the same campaign.
Additional very useful pictures with close views of US Special Forces Strykers (and other Stryker variants) had been provided by Robert Skipper (aka “18bravo“ in KitMaker forums). His Stryker photo reference set, which also covers other Stryker variants, is highly recommended.
As a base for my model I have used is the M1130 by AFV Club (with hindsight I’d better have used the M1126 kit, always by AFV). The AFV model is very well done with nice details; parts fit smoothly.
I designed the conversion parts needed do upgrade the M1130 to a DVH (Double V Hull) model, the blast panels of the Special Forces variant and other miscellanea parts.
I then got these parts 3D printed by Shapeways.
The following conversion sets are now available for purchase in my Priamide Models shop page at Shapeways:
- Special Forces Stryker – blast panels
- Stryker Double V Hull (DVH A1) conversion set
- Special Forces Stryker – miscellaneous parts
Aside from the AFV Club kit and Priamide Models 3D printed parts, I used the following add-ons:
- Real Models TFSS “Tire Fire Suppression System for Strykers” (p/n RMA 35209)
- Blast Models “Stryker Driver Armored Protection” (p/n BL35363K)
- Blast Models “Stryker Blue Force Trackers” (p/n BL35358K)
- Live Resin “M240″ (p/n LRE-35018)
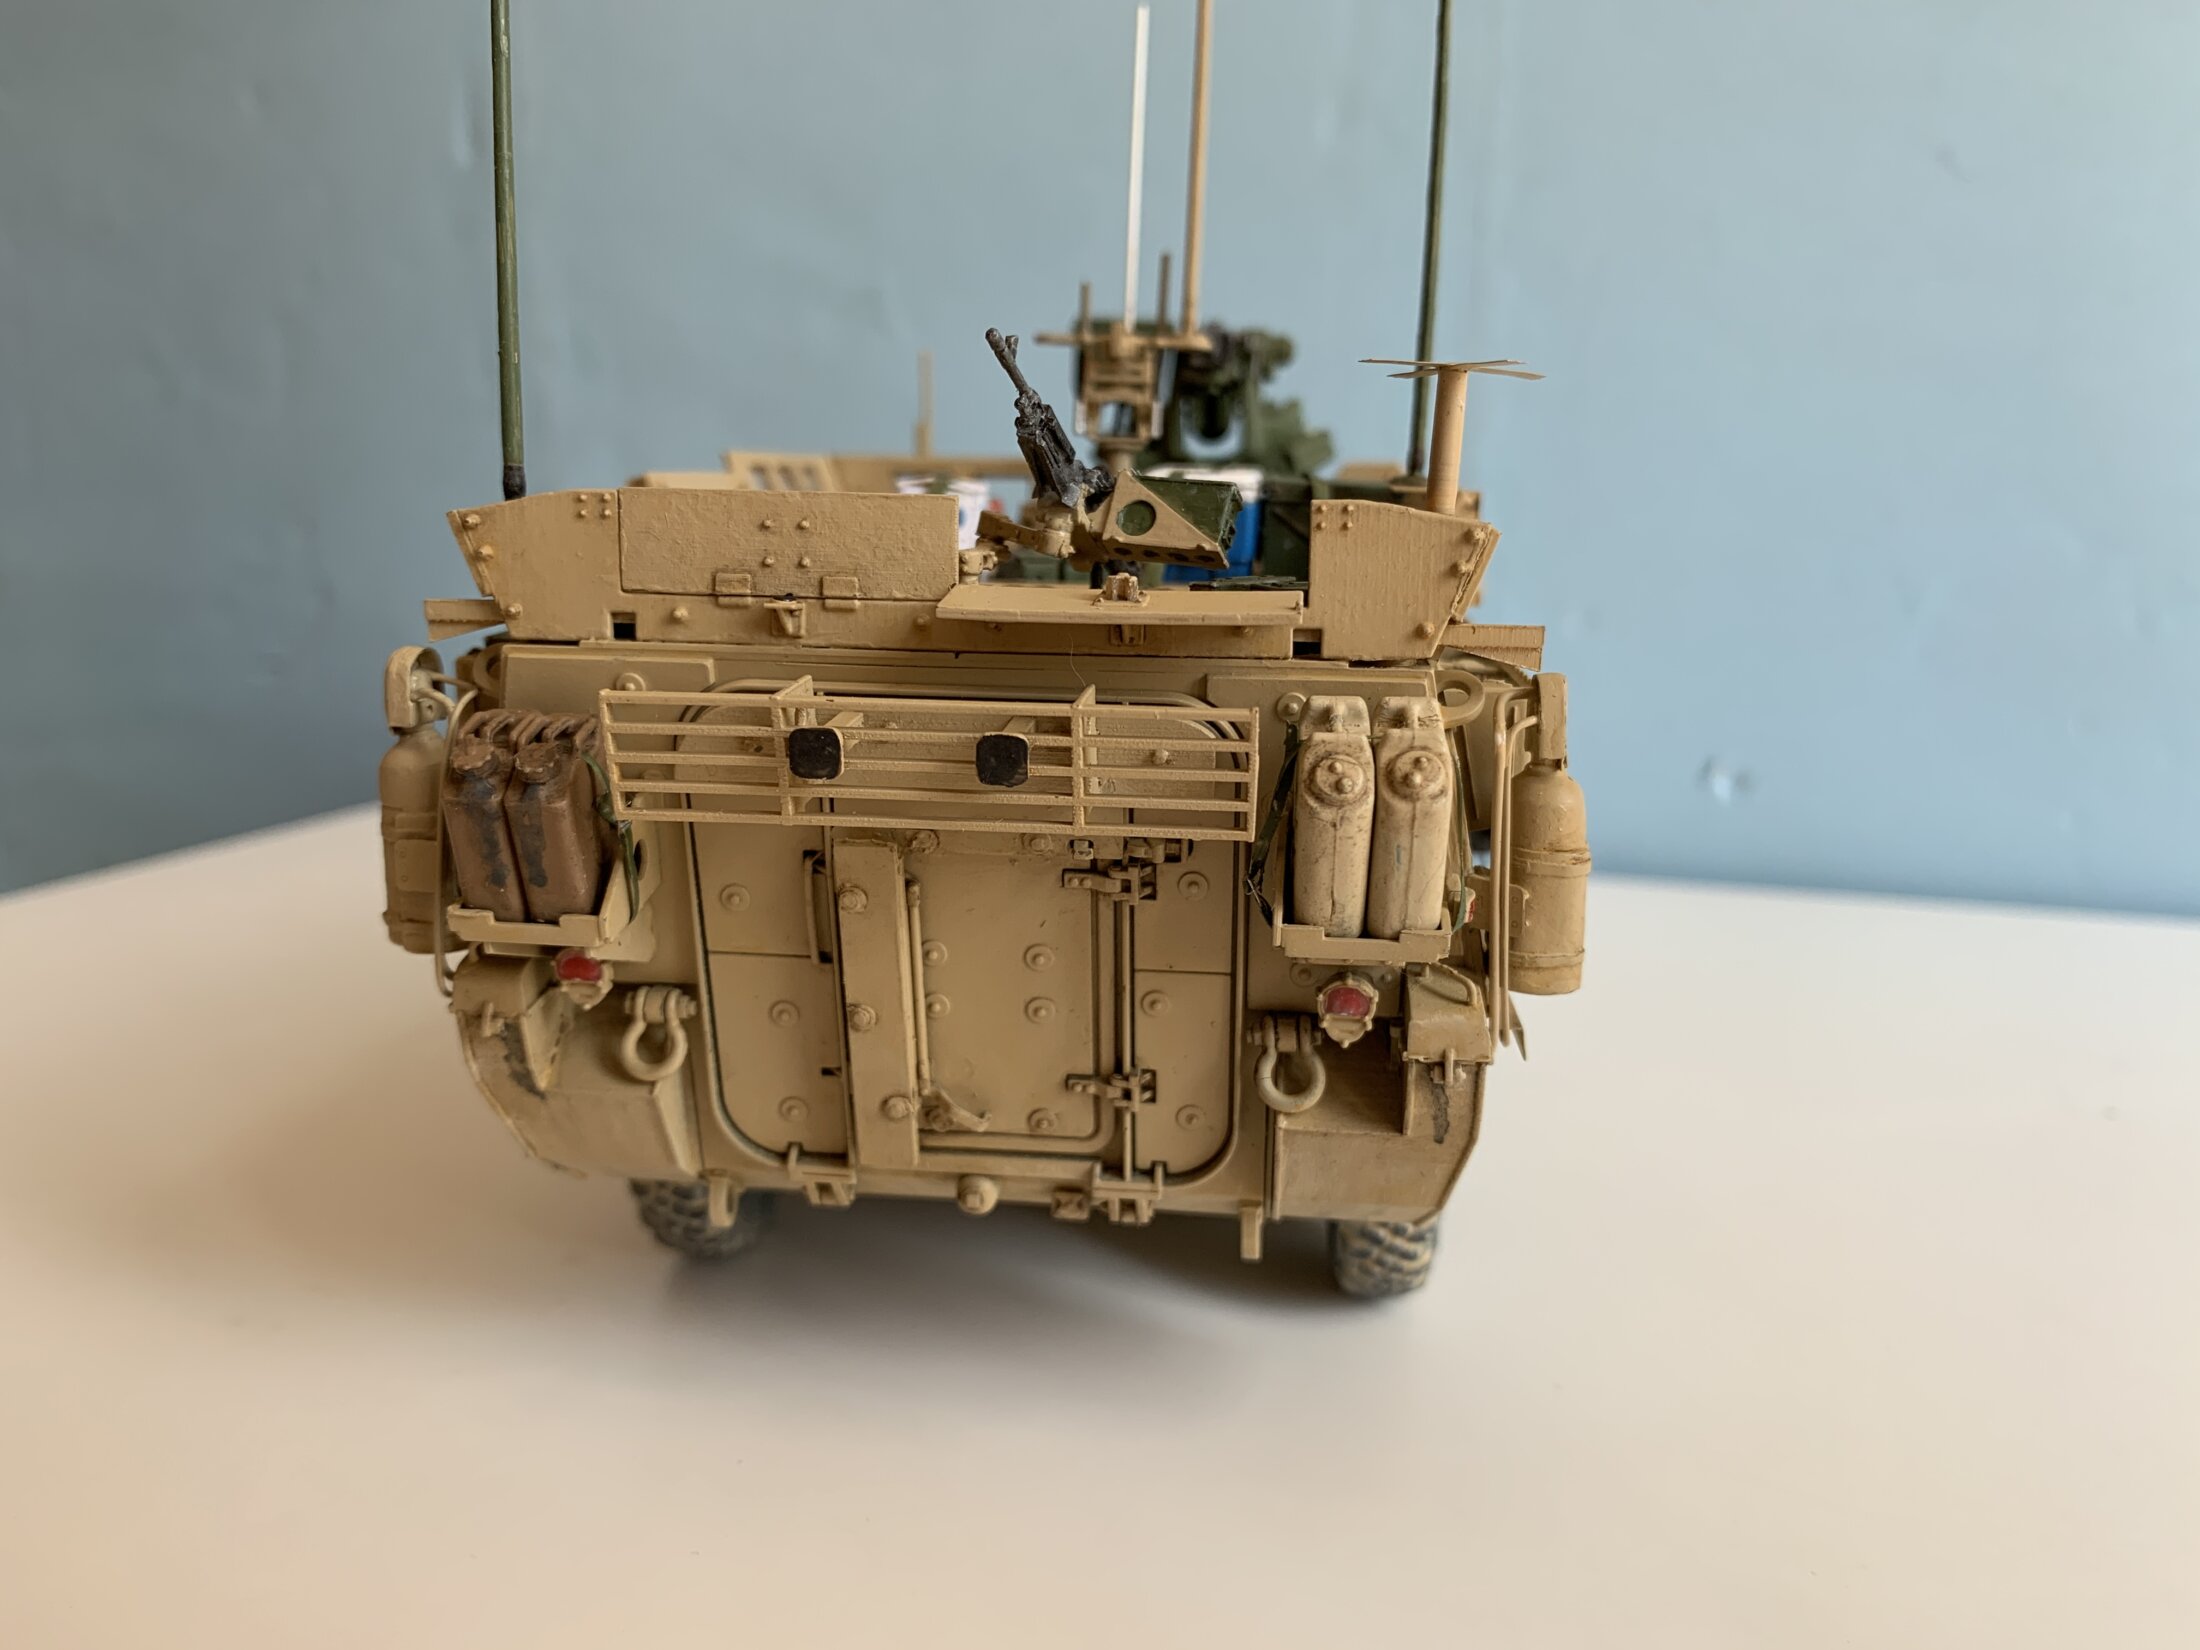
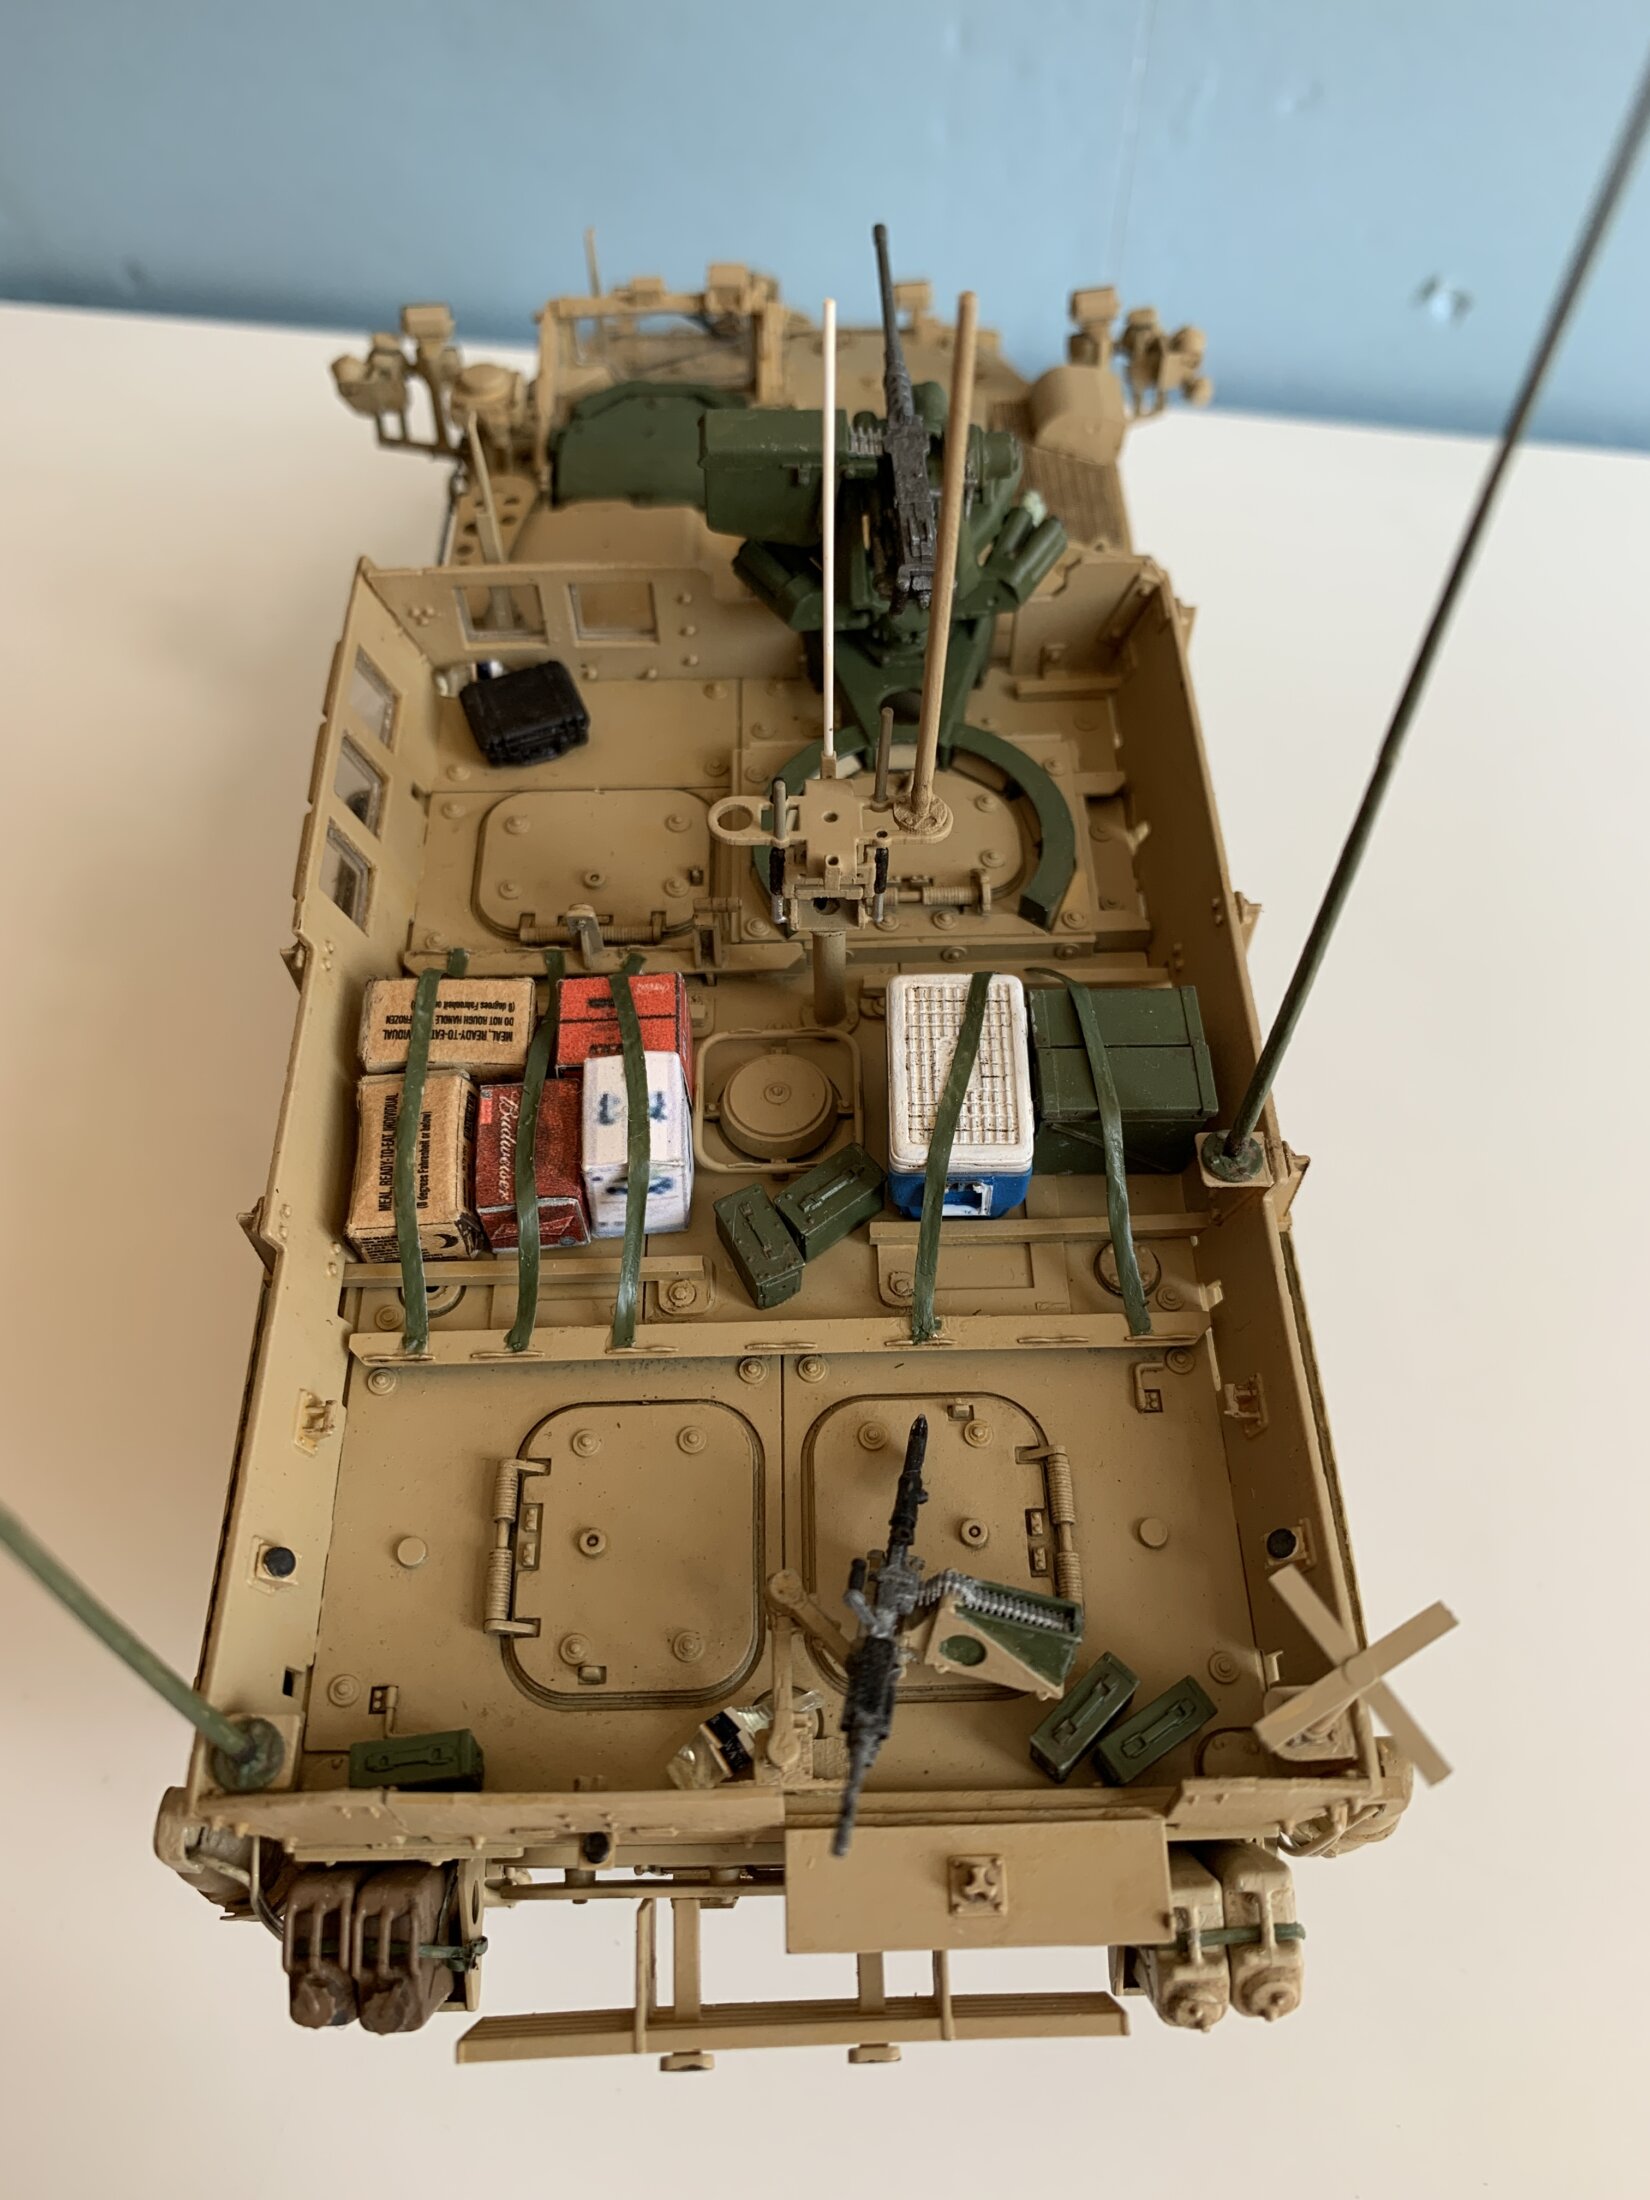
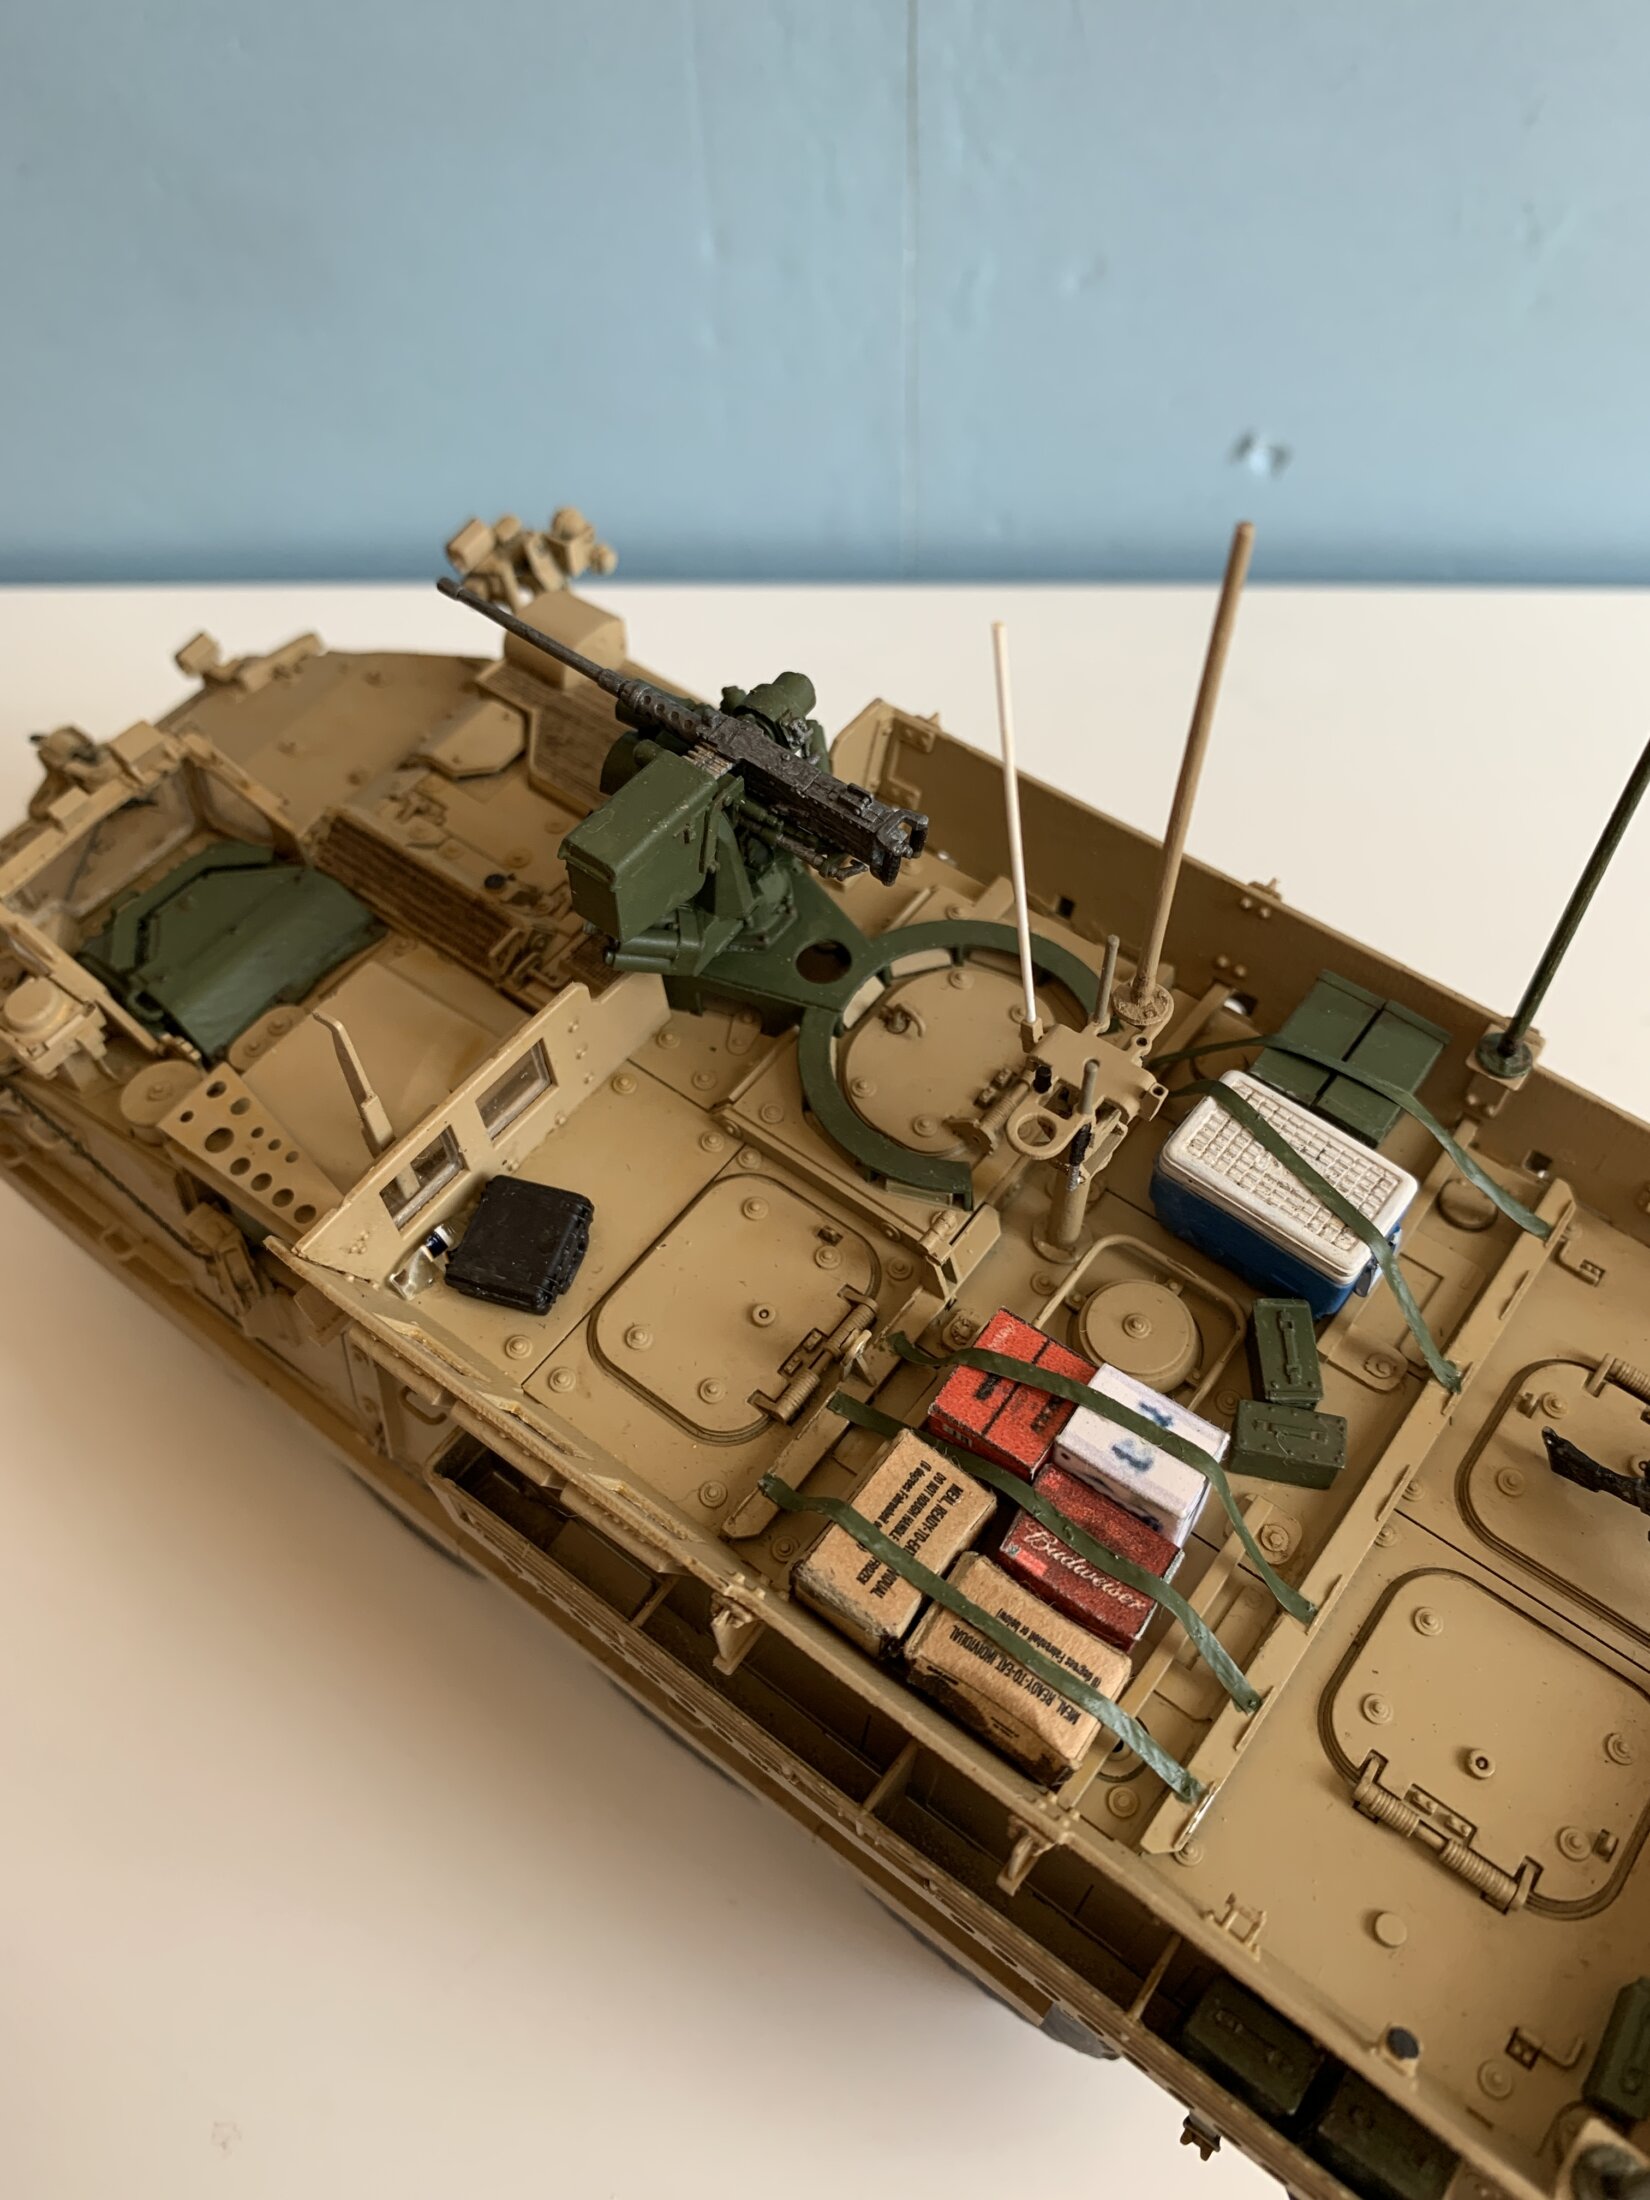
I start with pictures of the completed model, then I will go into details of some of the construction steps.
History of Construction
DVH conversion set
First step in the project was to convert the M1130, a 1st generation Stryker, into the new Double V-Hull version (also known as DVH).
For this conversion I have designed only the most visible changes: front armour, rear fuel tanks (see picture below as a reference, where the DVH is at the left) and the new exhaust deflector. I didn’t make the double V bottom of the vehicle because it required massive modifications to the hull and also because the bottom of the model is not visible. This saved me a lot of work that I then devoted to the anti-blast panels, peculiarity of the Special Forces variant.
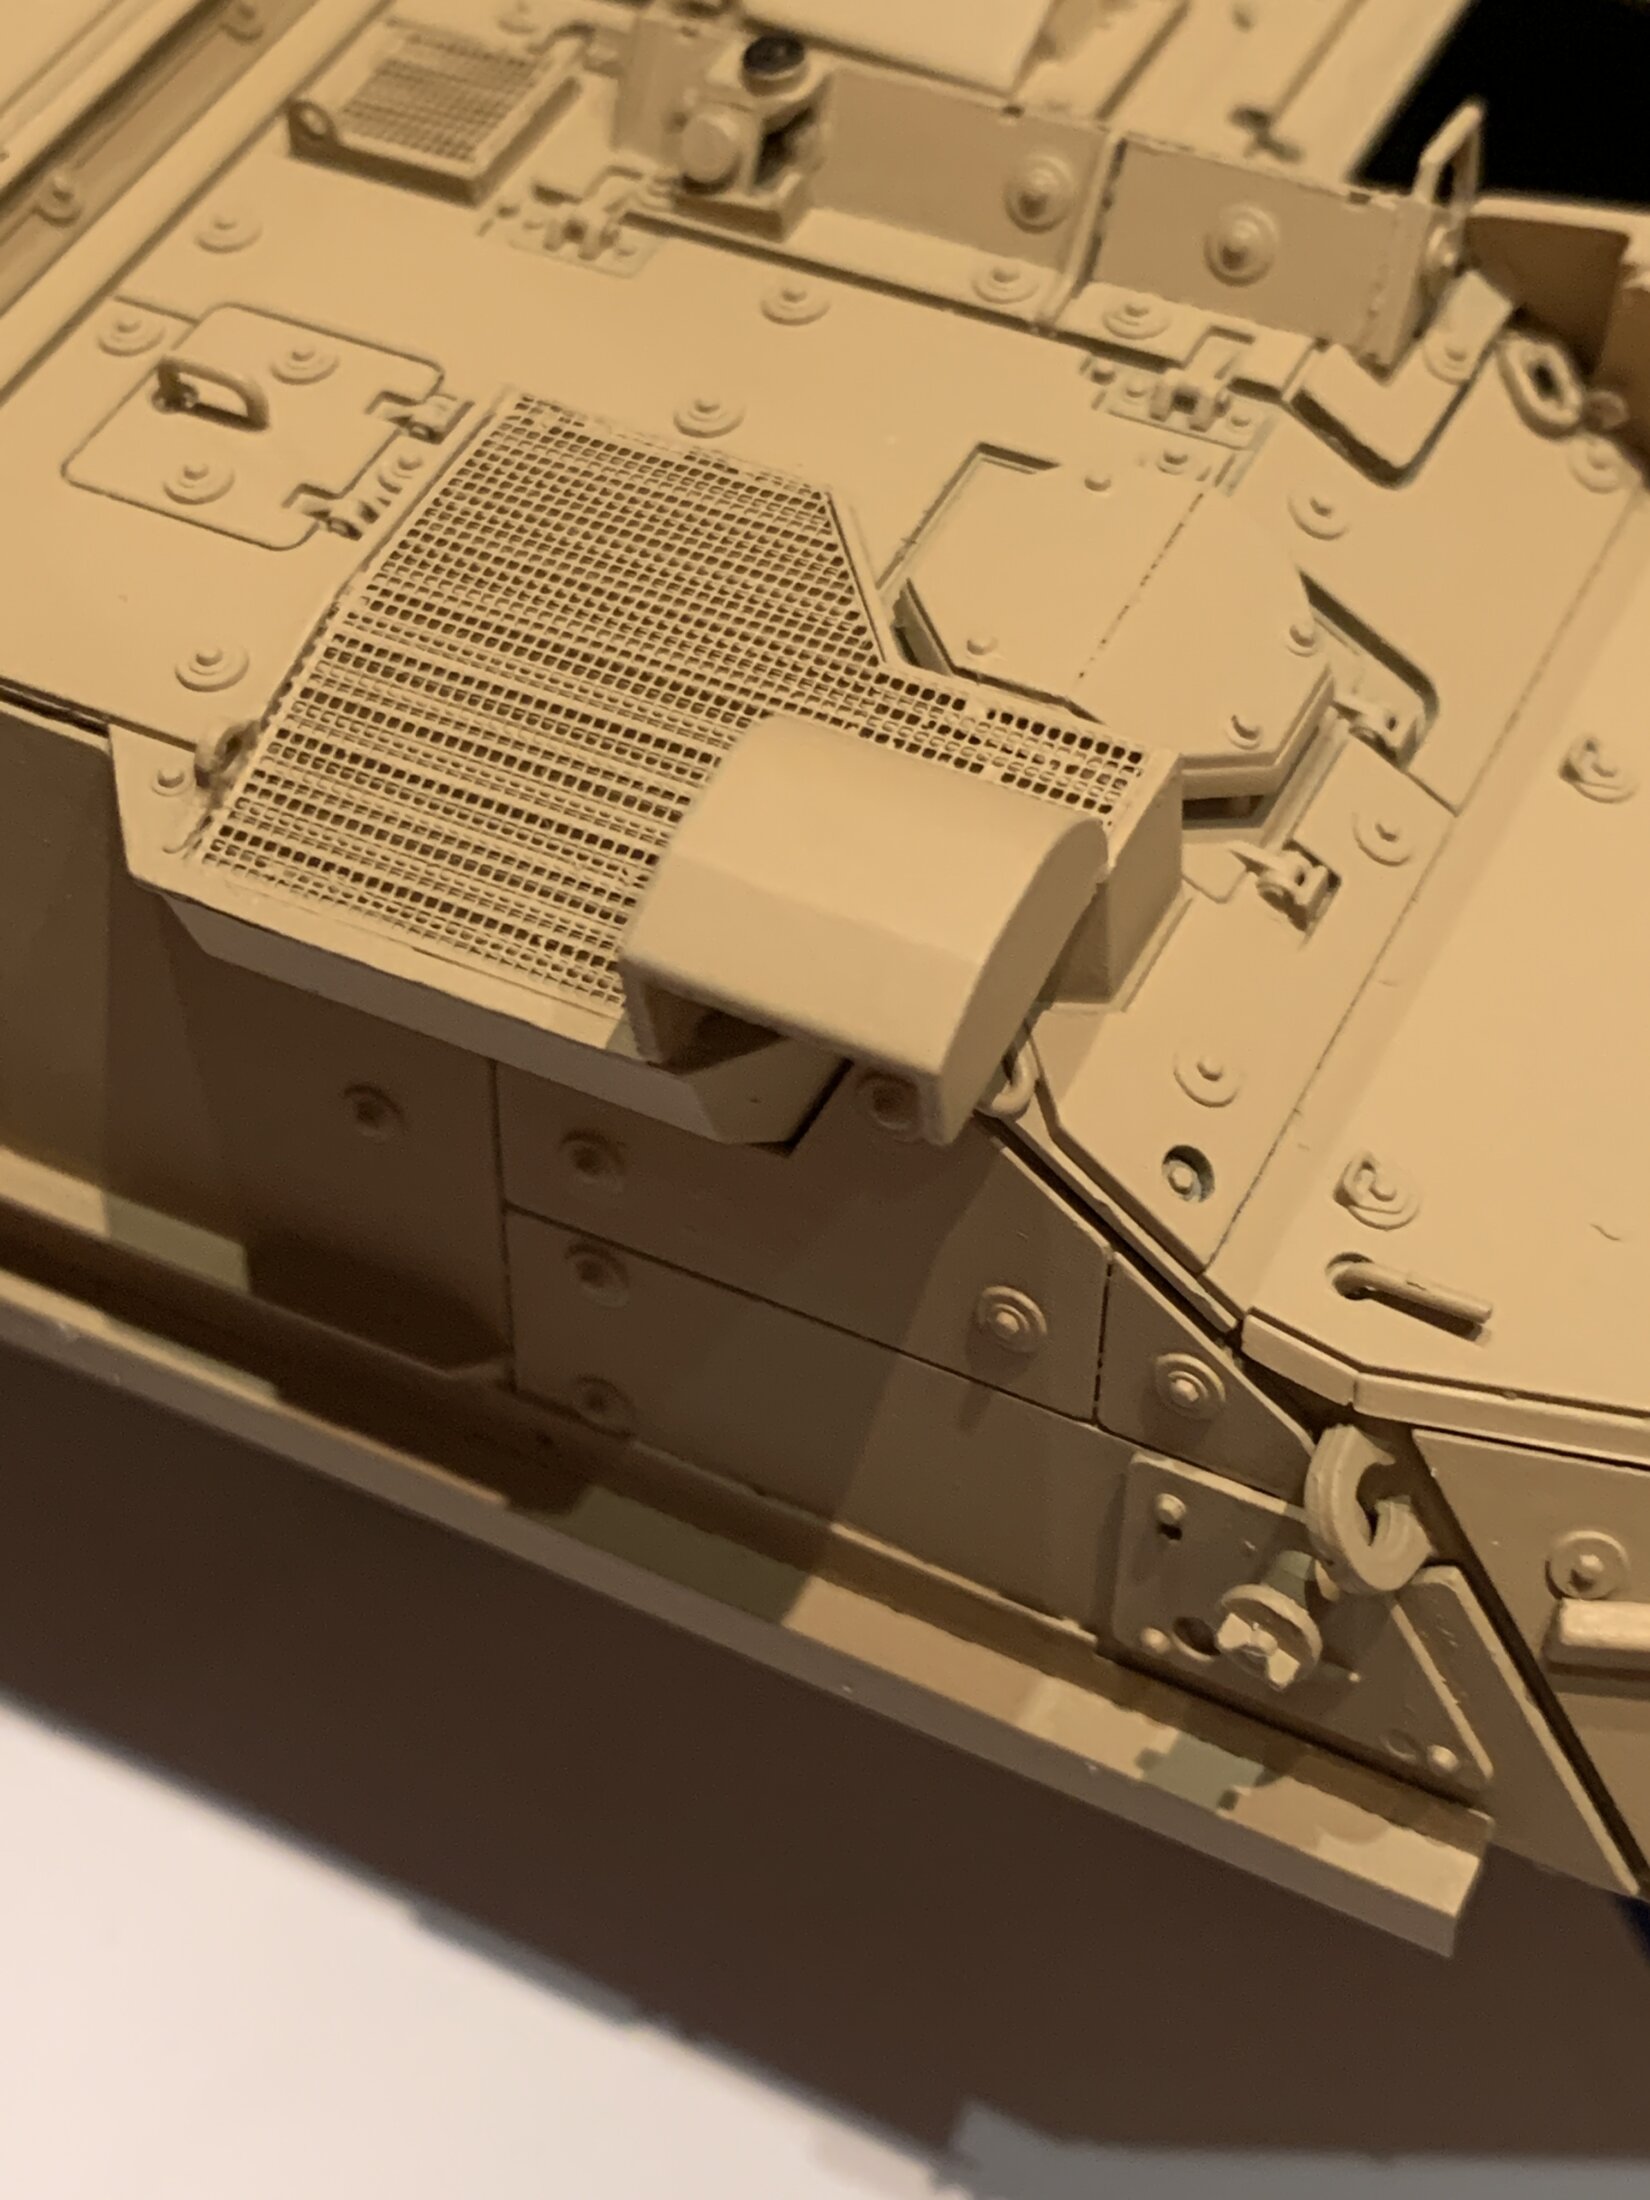
Here are some pictures of the work in progress model.
Here you can see the the modified front armour that I 3D designed and then printed at Shapeways.
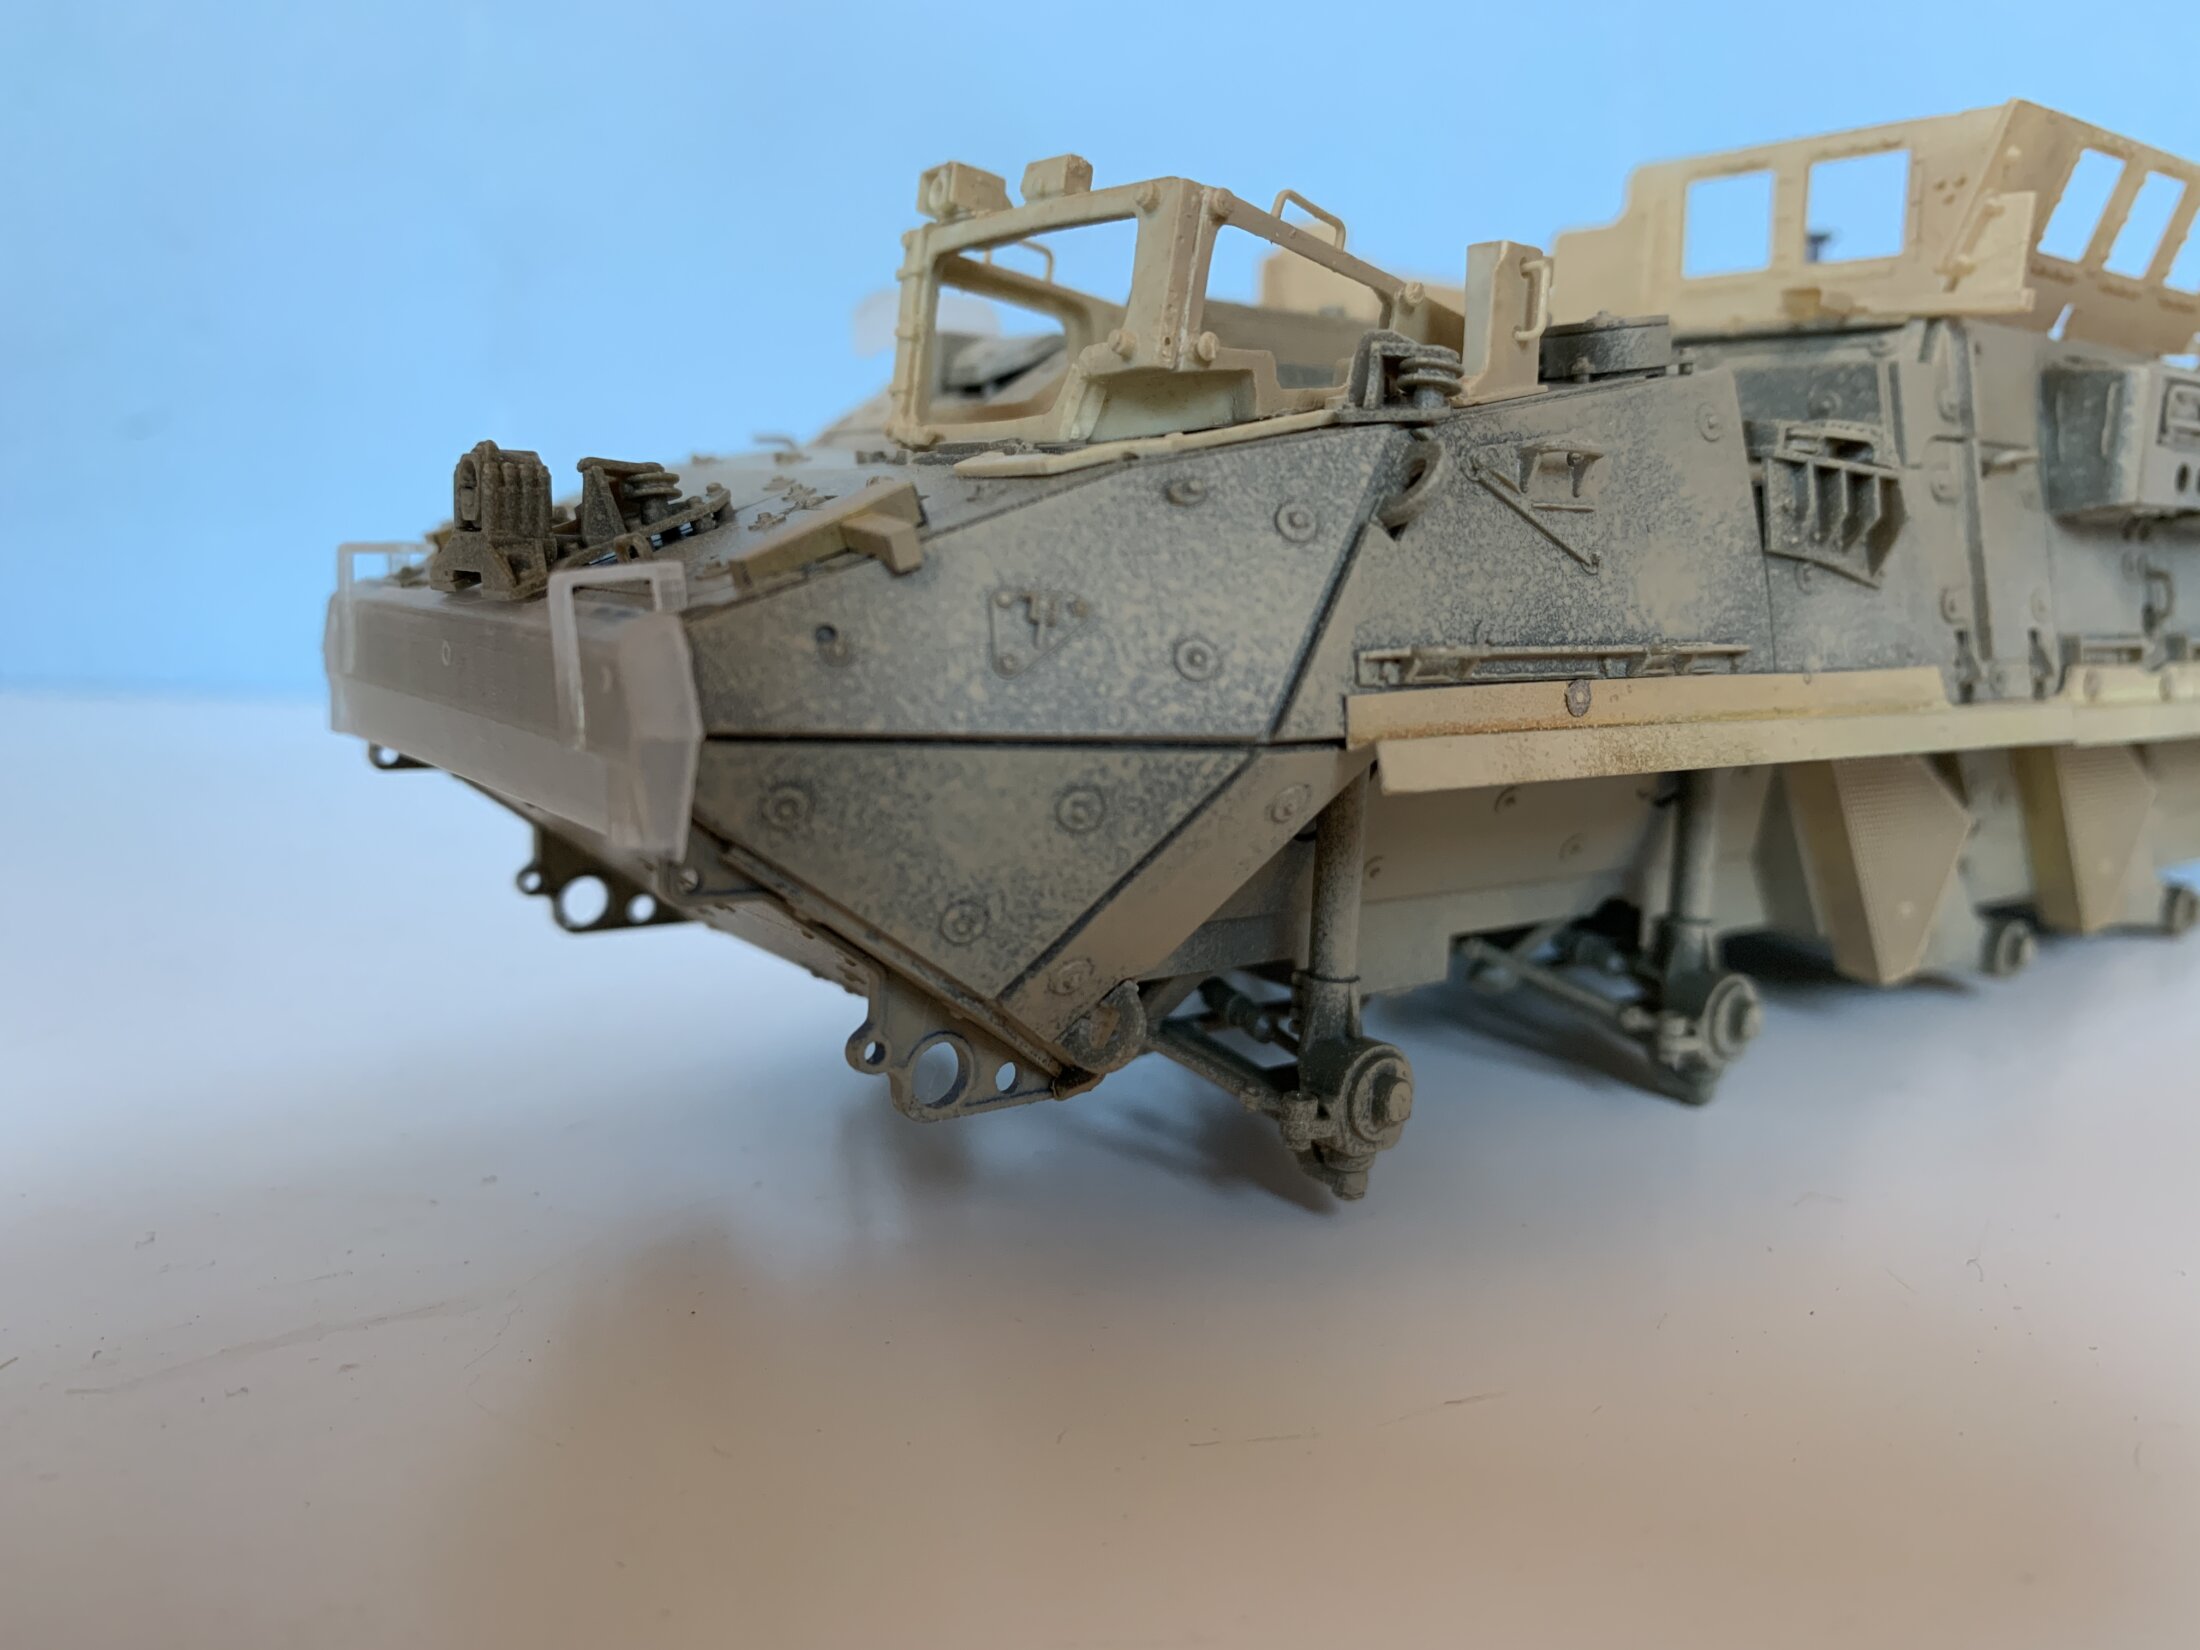
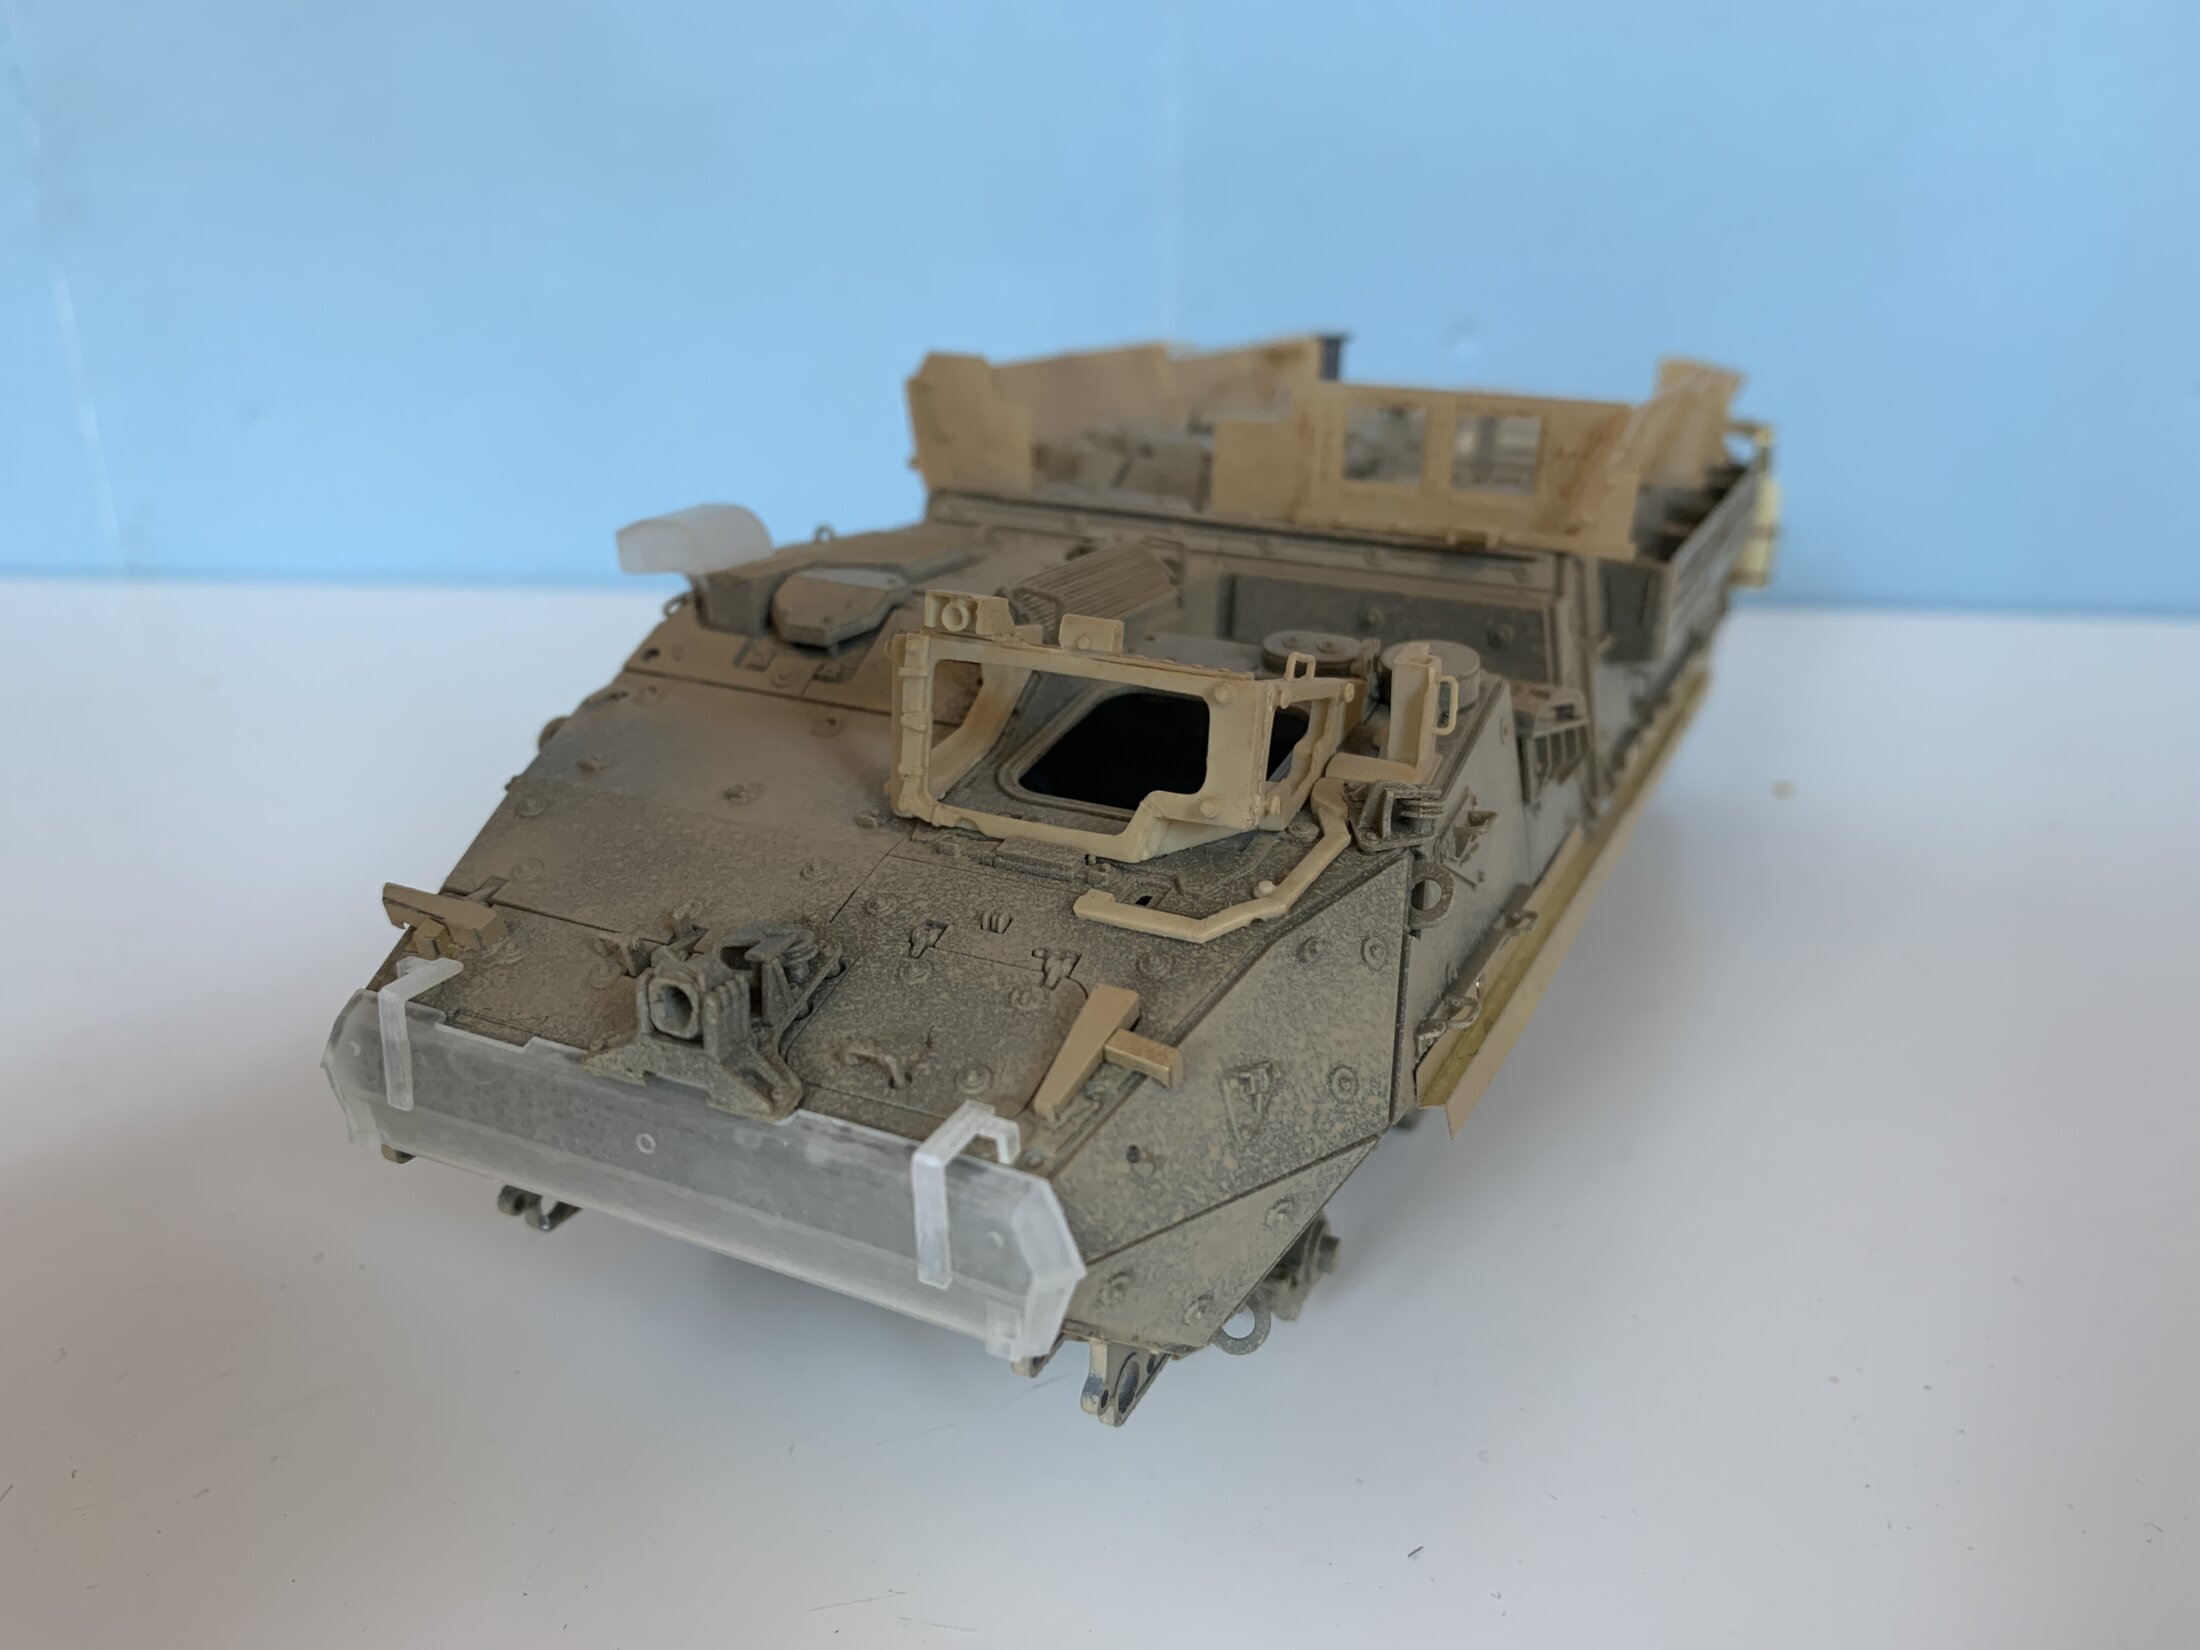
Upgrading to a US Special Forces variant
I then started adding parts specific to a US Special Forces variant. Some of these parts come from resin add-on vendors (Blast Models and Real Models), others have been 3D designed by myself and printed at Shapeways (these parts are now available for sales in my Priamide Models shop page at Shapeways).
Here are the driver armored protection and the BFT (Blue Force Tracker) antenna mount, both by Blast Models.

Photoetched parts along the side of the vehicle are from the TFSS “Tire Fire Suppression System” as well as the fire extinguisher at the rear, all by Real Models.
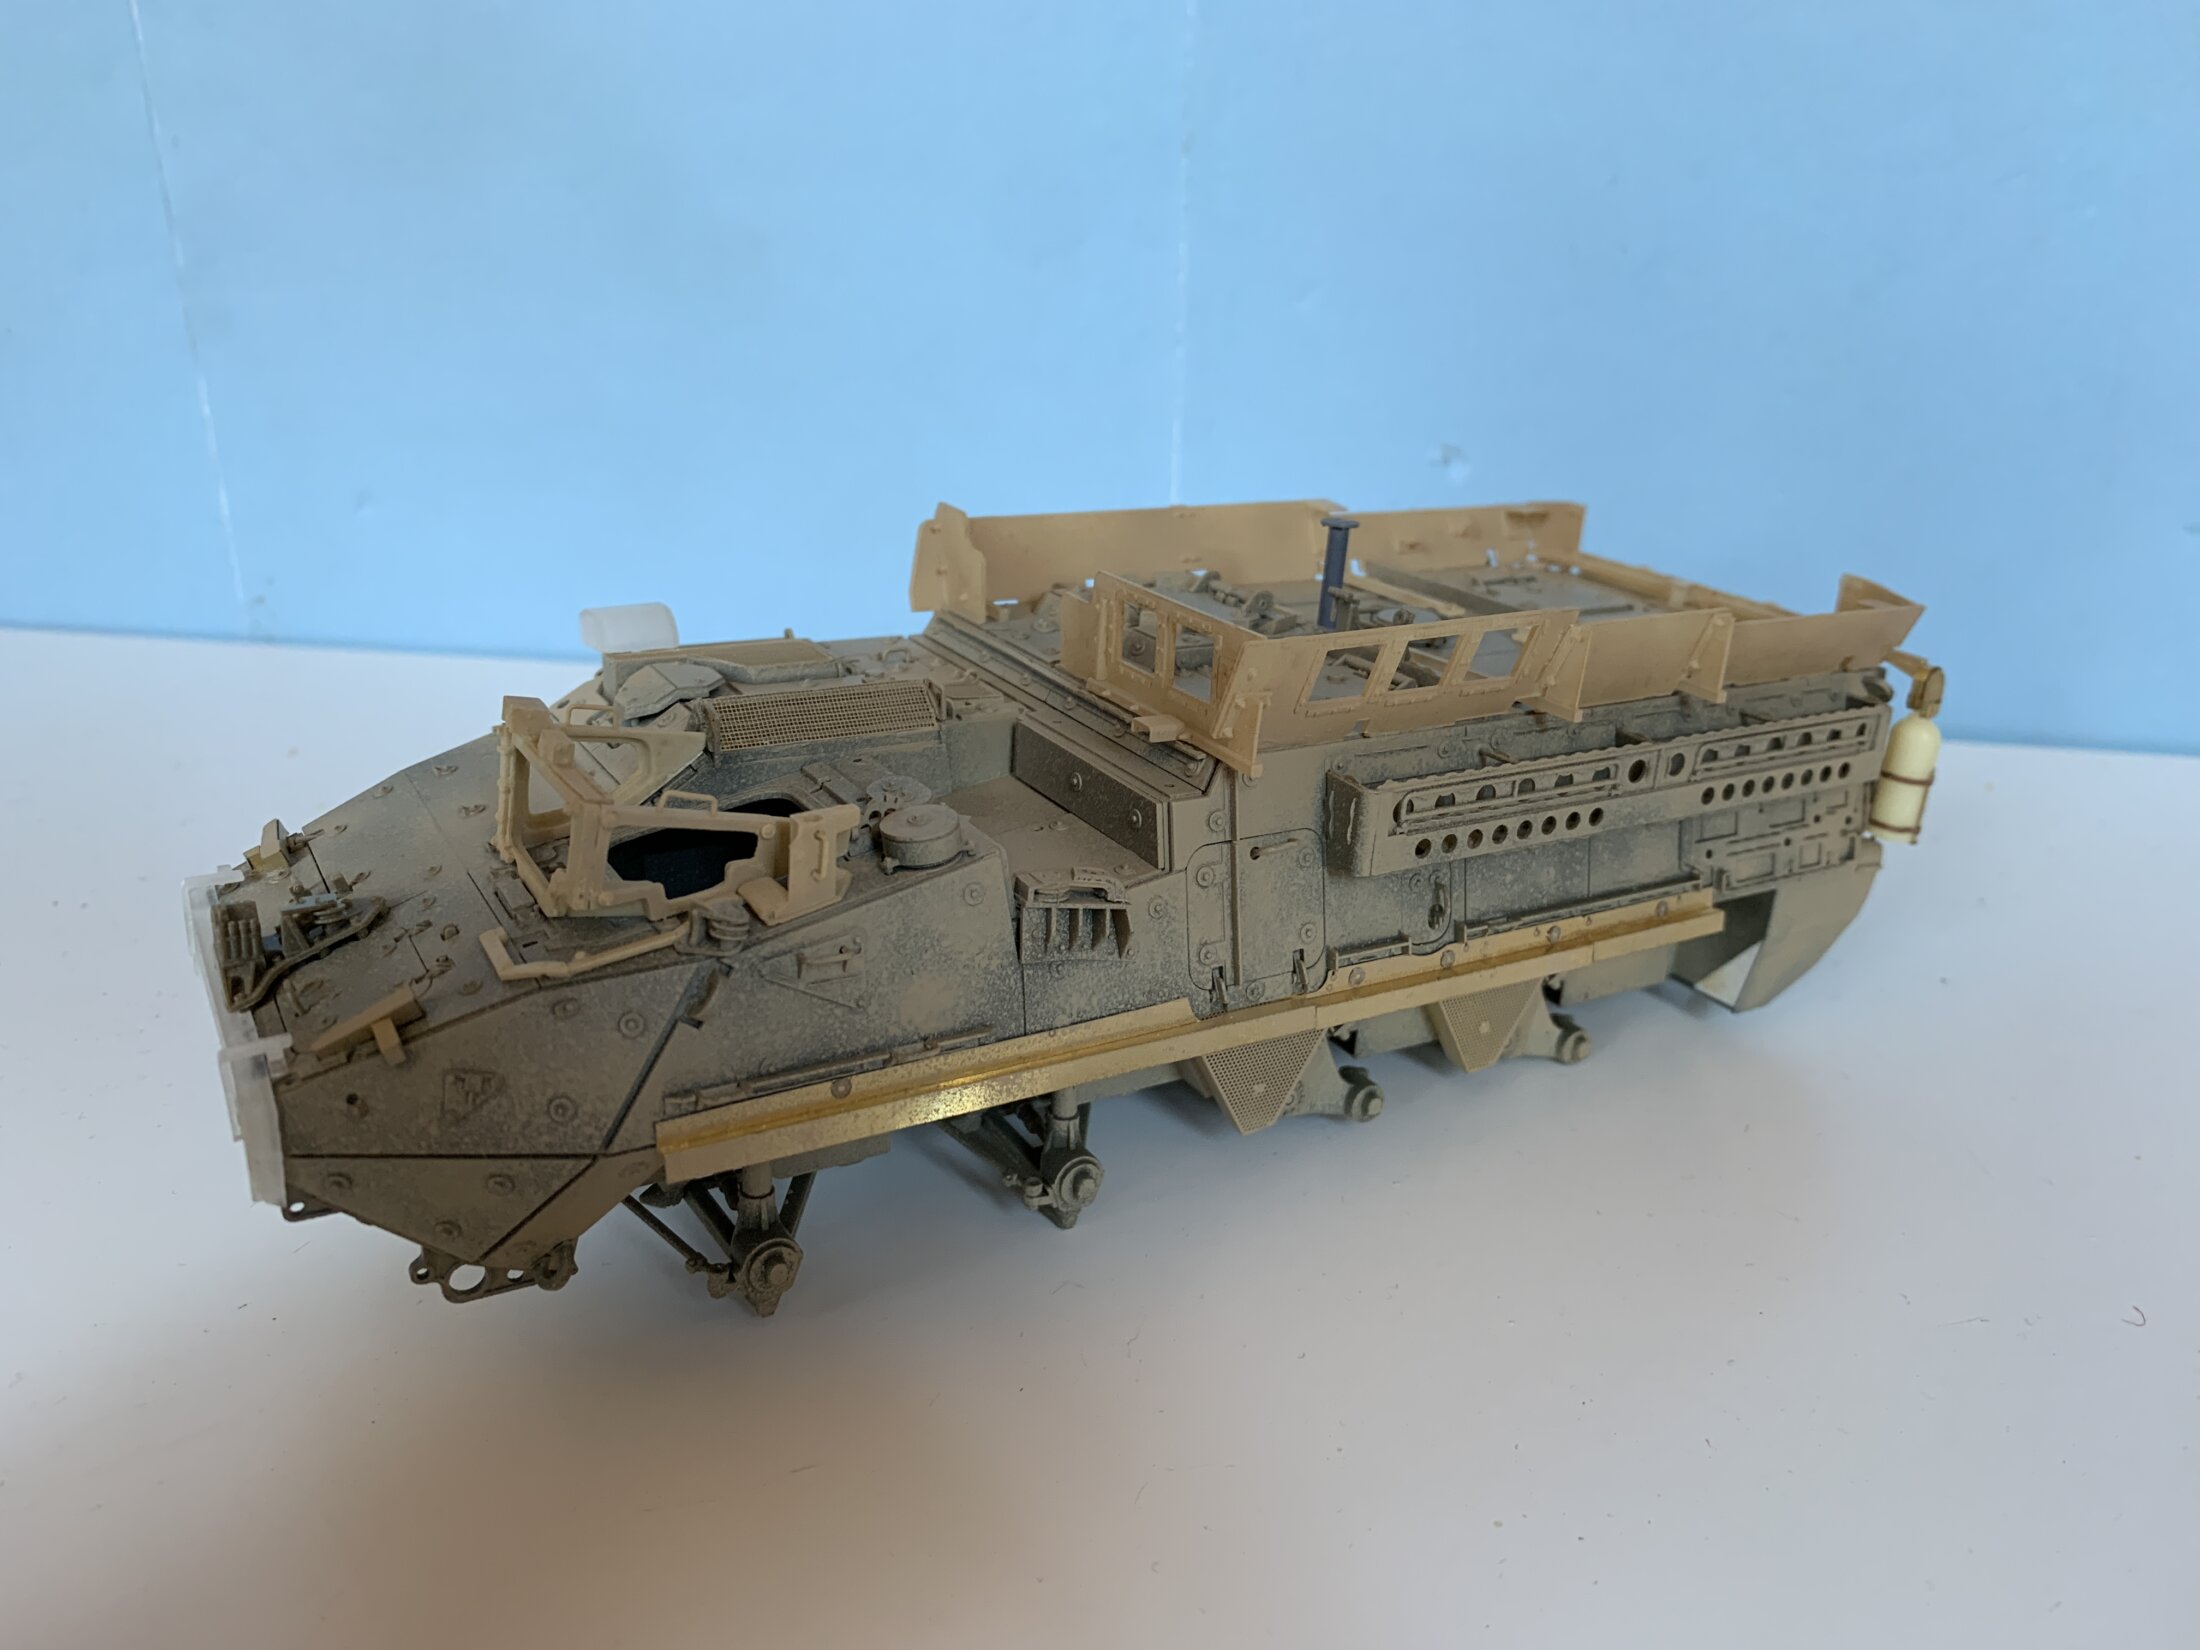
A top view of the antiblast panels by Priamide Models (more about these panels below).
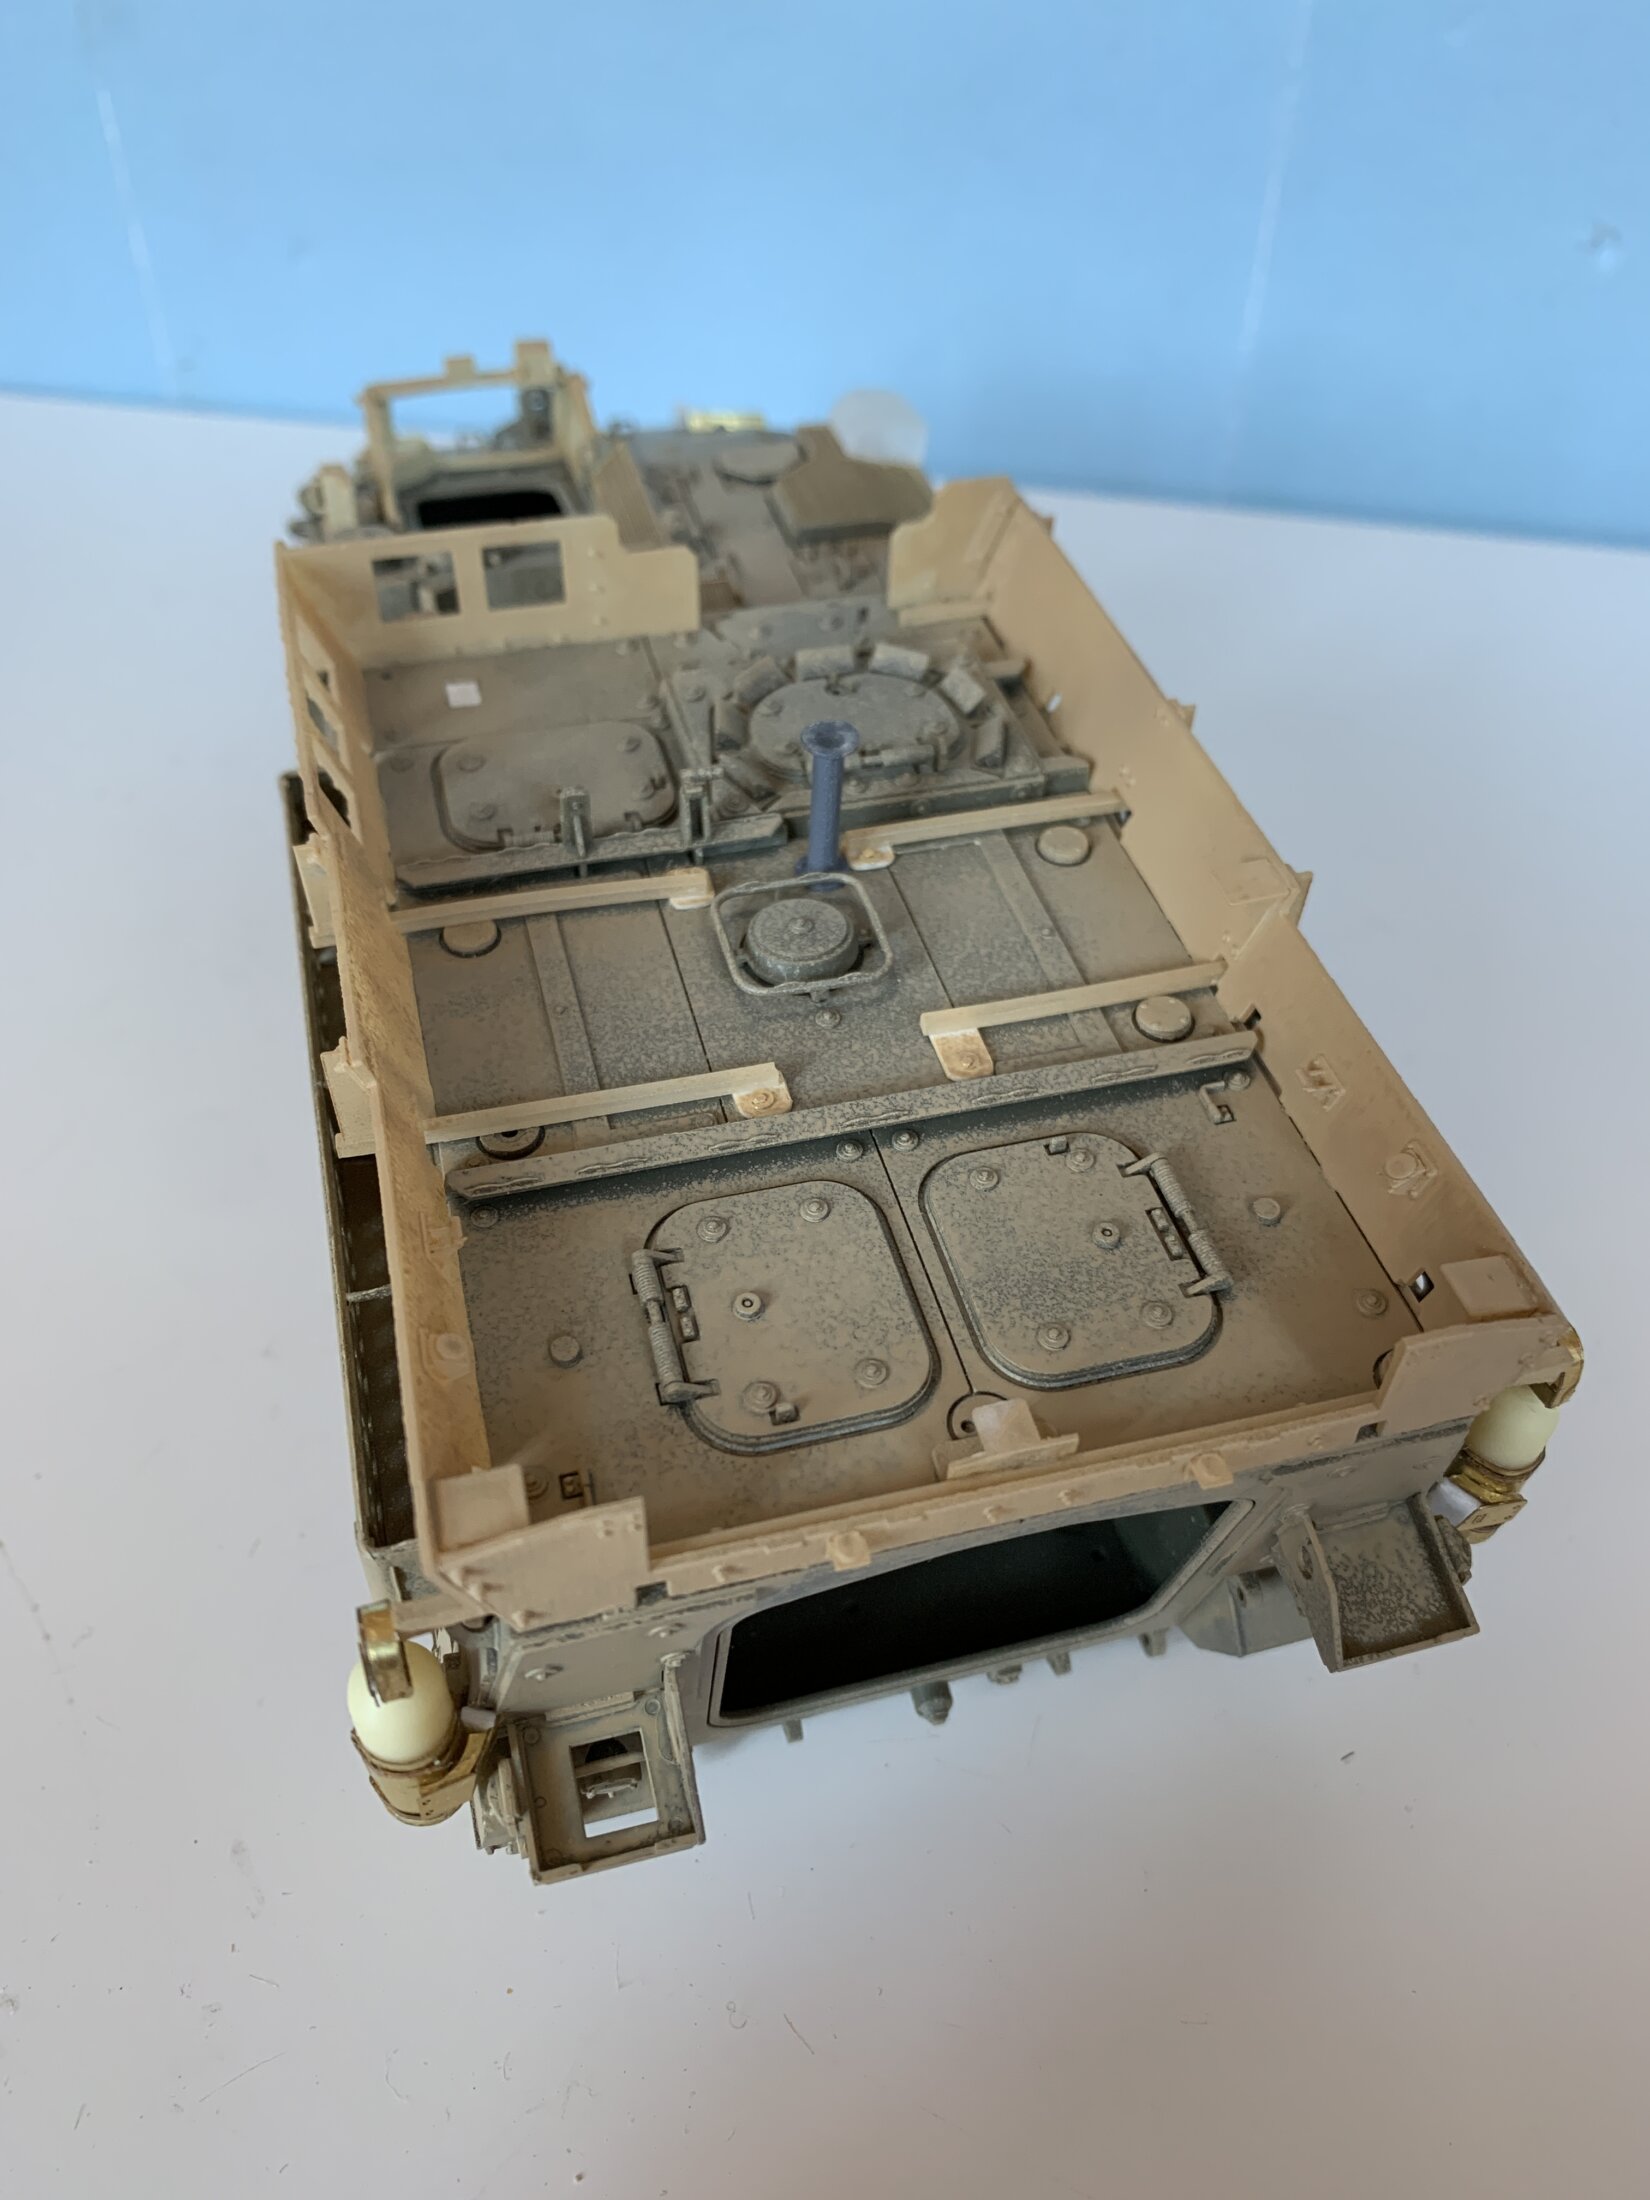
At this stage I added the tailgate where, in all of the pictures I used as a reference, a part of the slat armour was mounted. As a side note I know that the Stryker slat armour has been the nightmare of the brave modelers who dared to add it in their models; luckily, the variant I decided to build doesn’t use it.
I then applied the base paint.
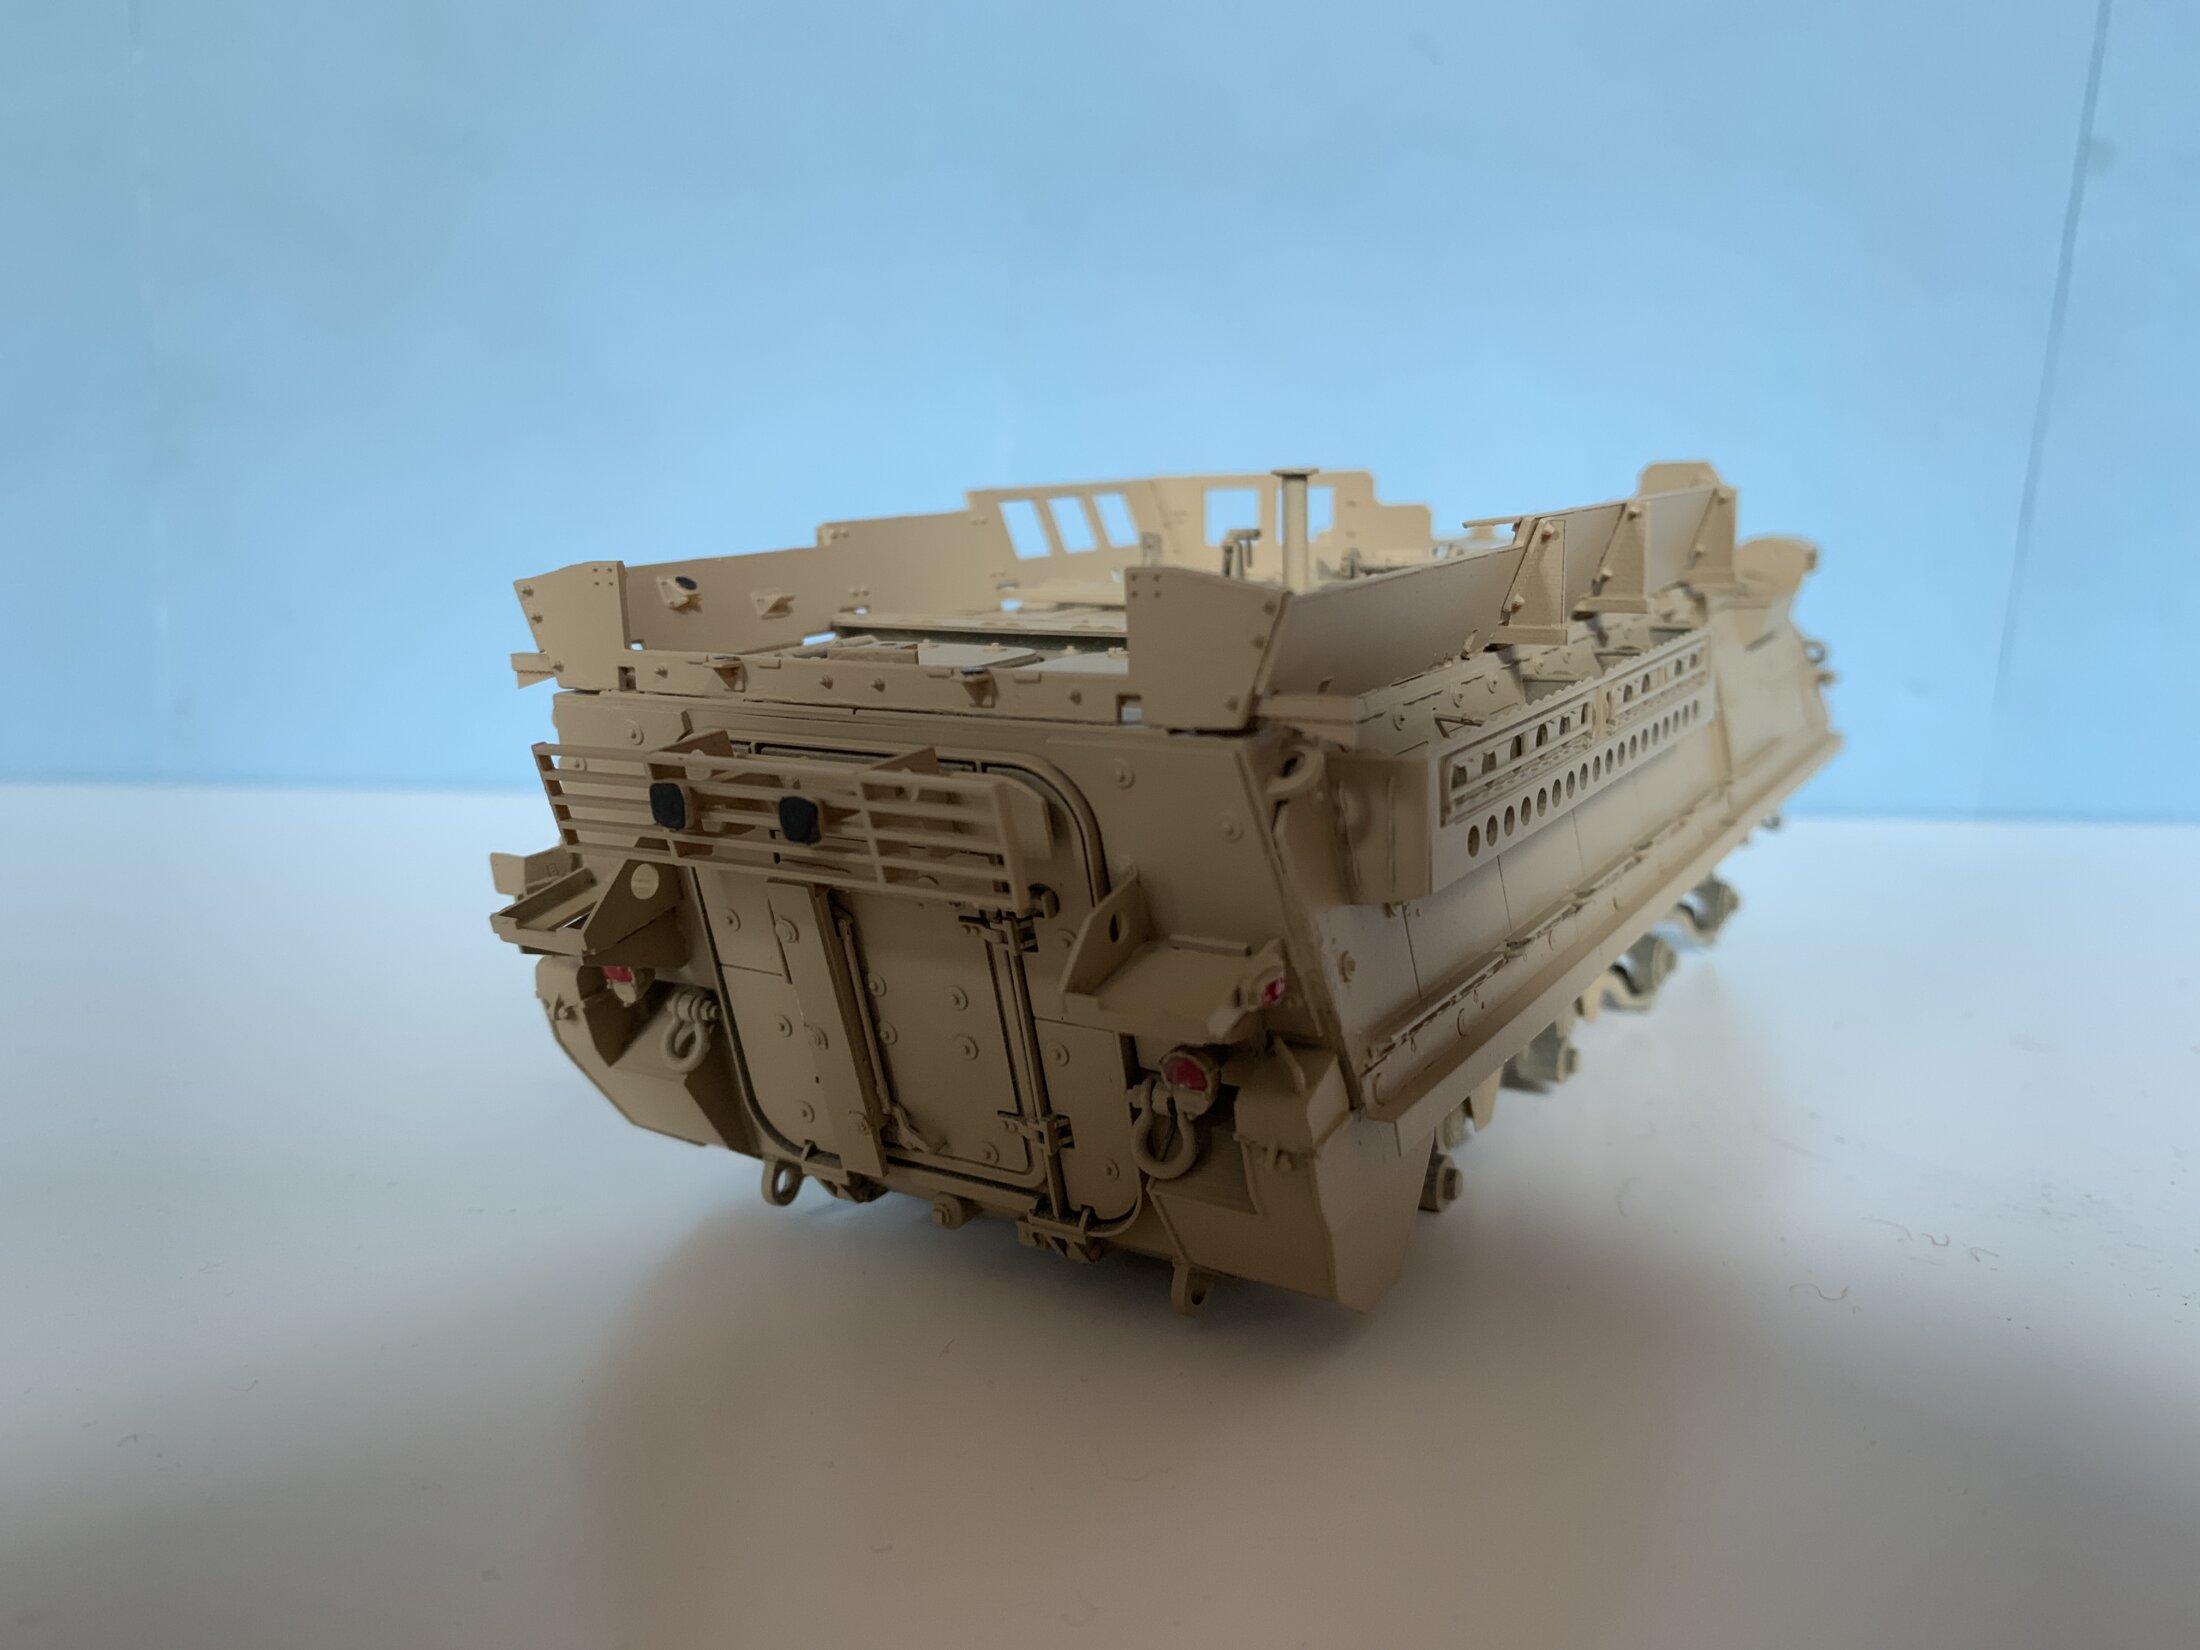
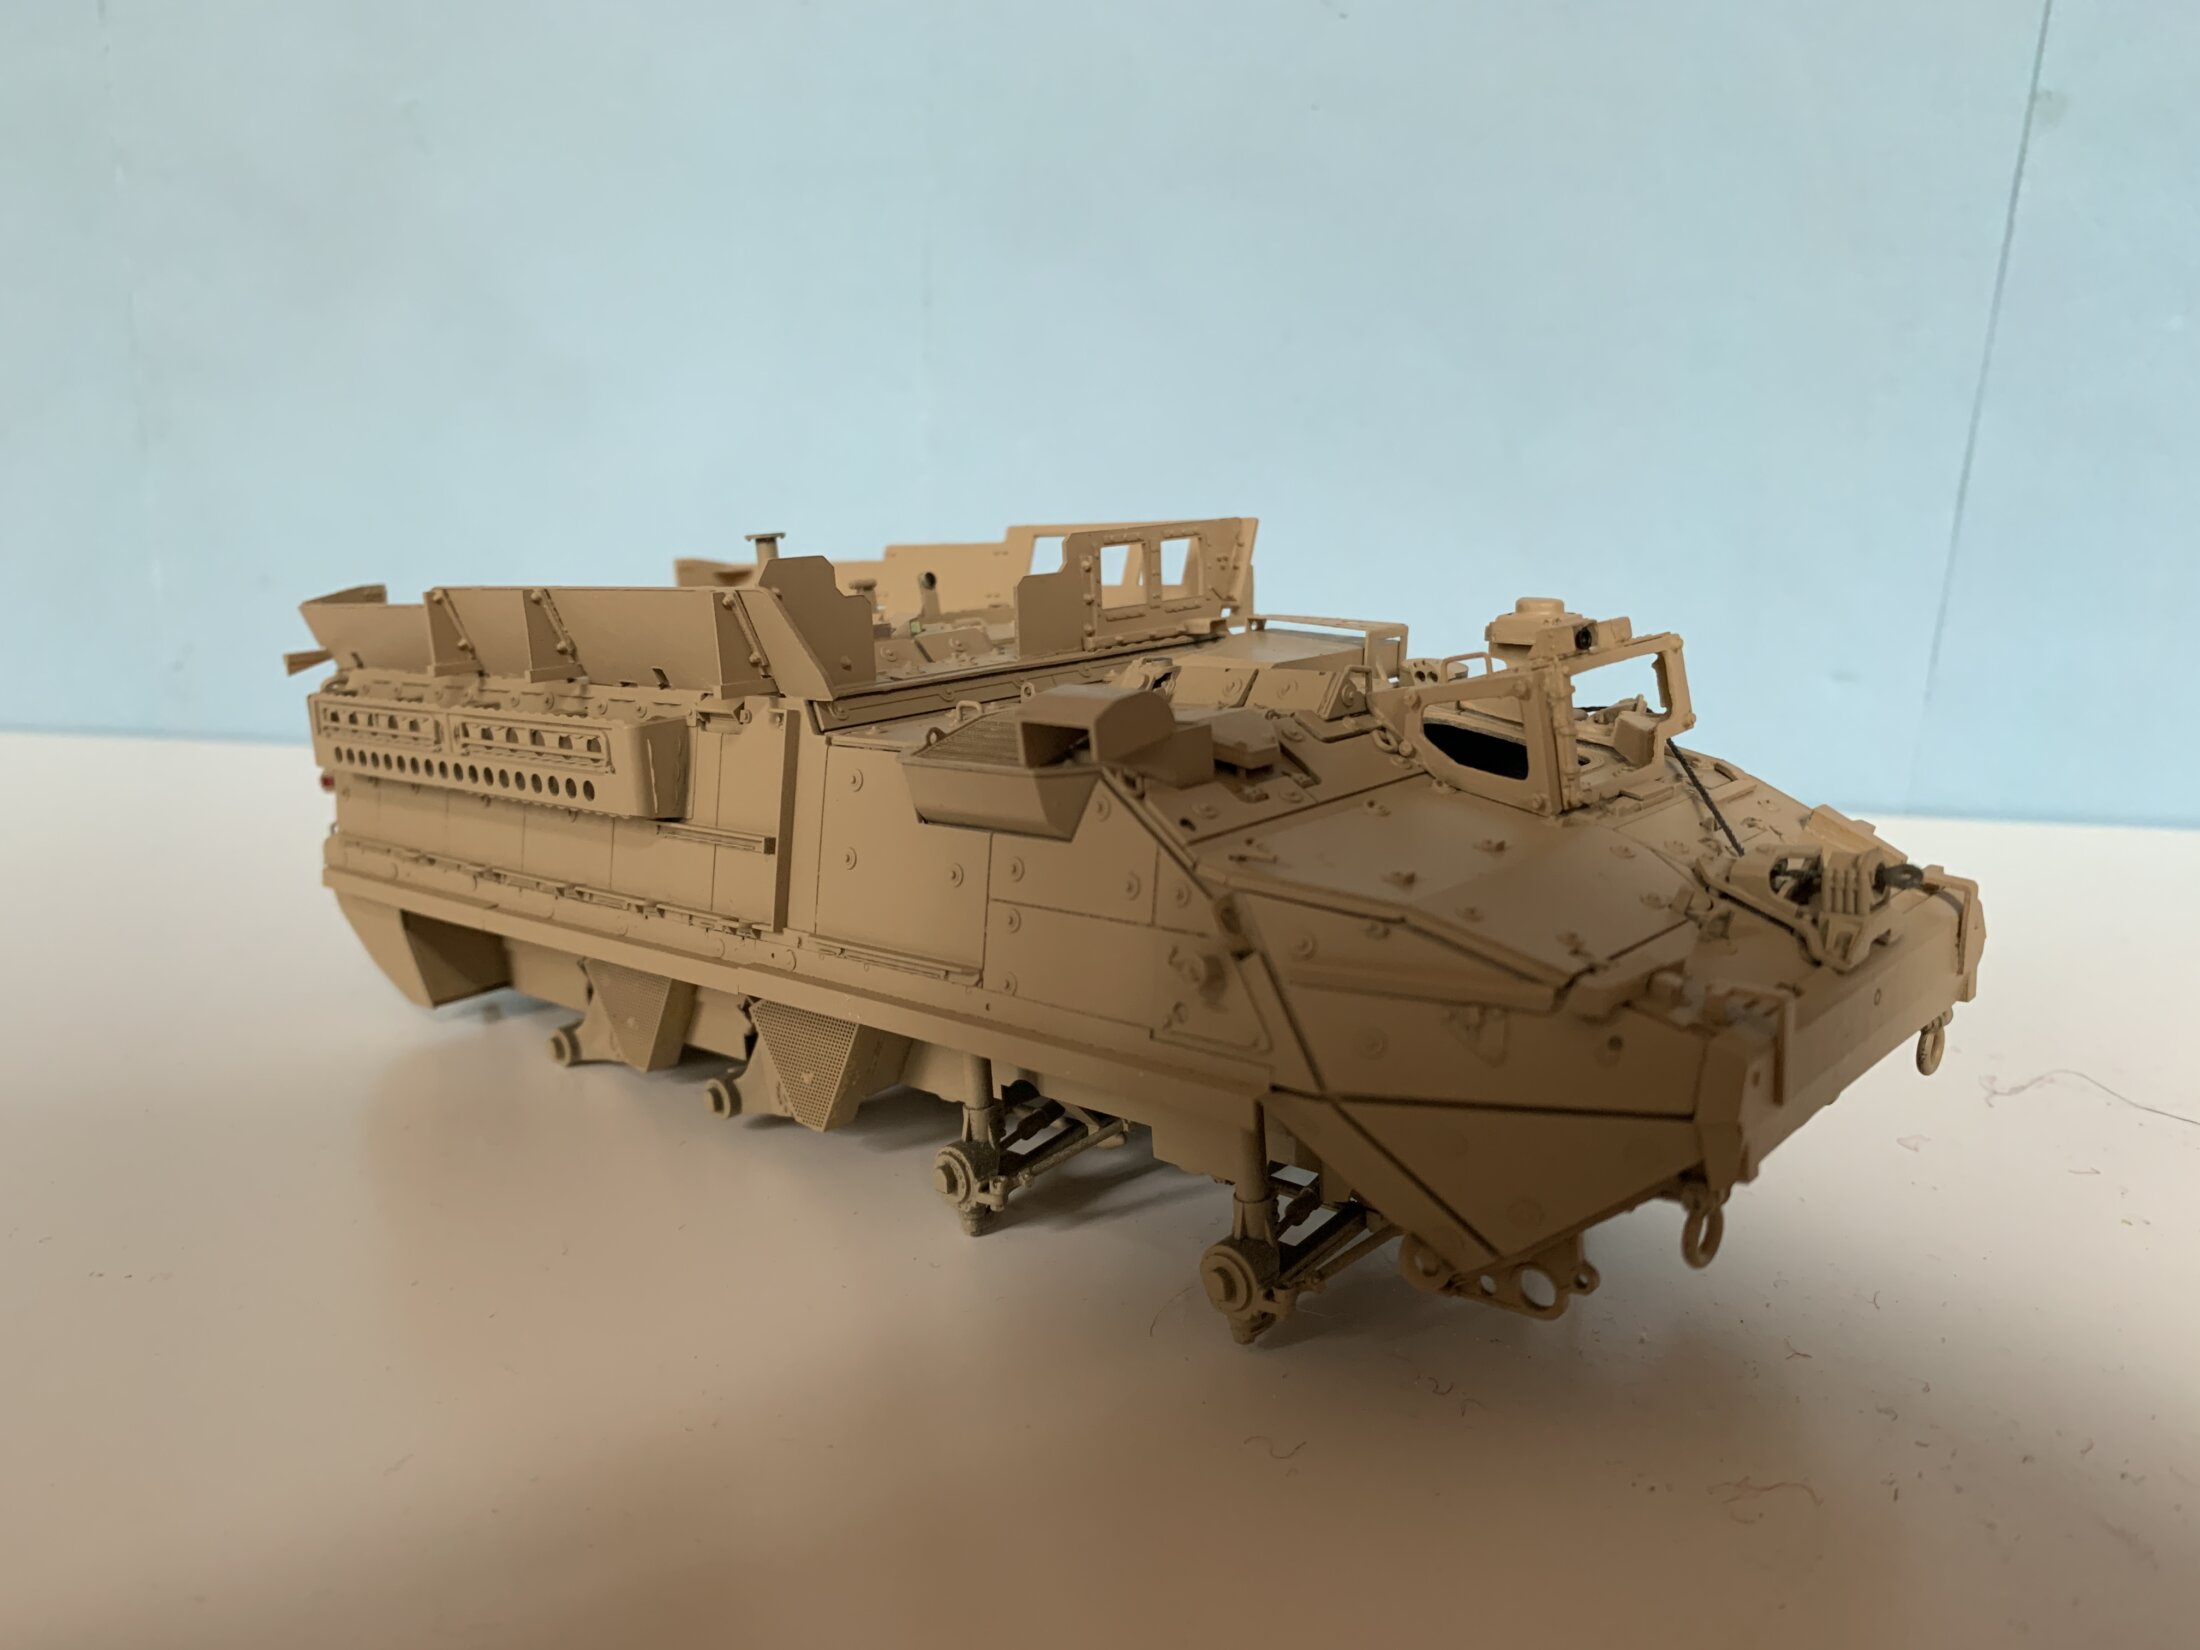
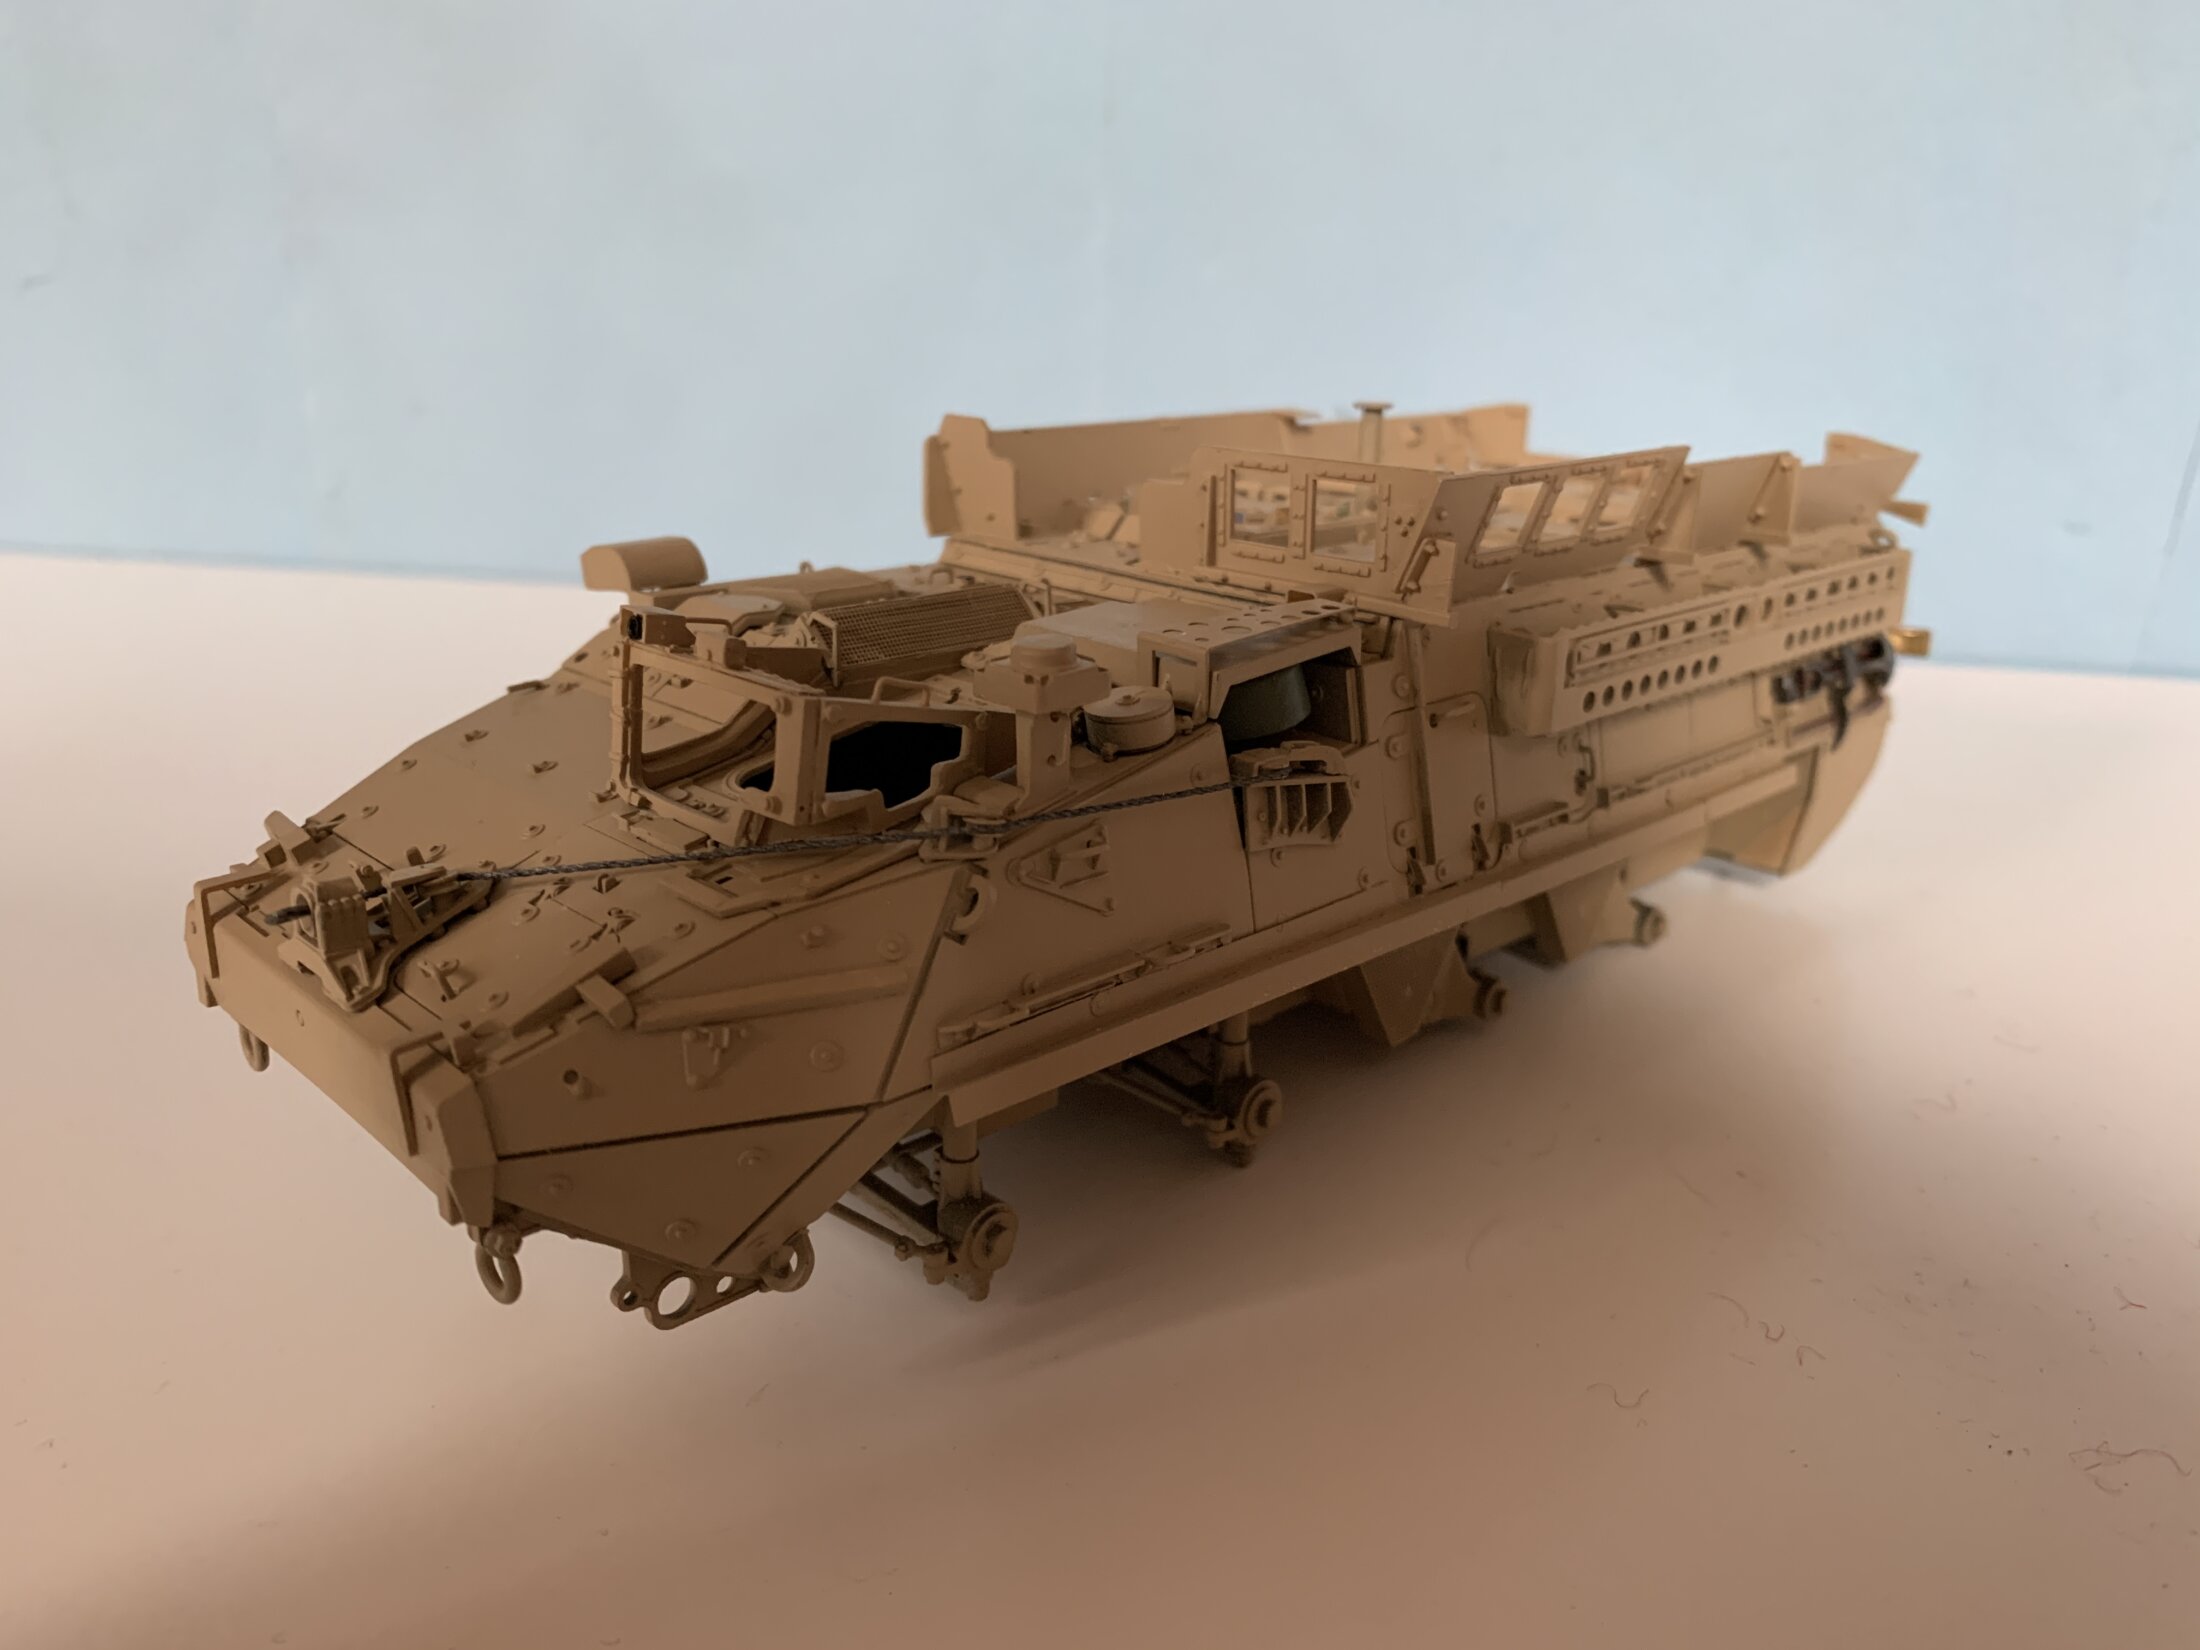
I also removed the fire extinguisher bottles because they were too tall. Indeed, this add-on kit by Real Models didn’t meet expectations. Not only I had to shorten the bottles, but also mounting supports of the bottles didn’t fit the vehicle and I had to remake them.
Miscellaneous parts
I have completed the model adding the following parts, equipments and accessories:
- front lights and mounts (by Priamide Models “Special Forces Stryker – miscellaneous parts”)
- tow bar (by Priamide Models “Special Forces Stryker – miscellaneous parts”)
- Javelin anti-tank missile (by Priamide models “Javelin FGM-148 Anti-Tank Missile“)
- tiltable antenna mount (by Priamide Models “Special Forces Stryker – miscellaneous parts”)
- horn (located in front left side, by Priamide Models “Special Forces Stryker – miscellaneous parts”)
- antennas, ammo cans, water and fuel scepters, water and beer boxes (from various sources)
You can find more info about 3D printed part by Priamide Models here.
Model completed in May 2021
